REVIEW · LONDON
Beginners Photography Course – Small Group Workshop
Book on Viator →Operated by London Photo Tours and Workshops · Bookable on Viator
A camera in Auto mode can feel safe, until your photos look the same. This beginner course in London turns those mystery dials into practical tools, using live teaching at three iconic photo spots.
Two things I really like: you get small-group attention (max six), and the teaching is tailored to your camera, not some generic demo. Lou’s explanations make the basics stick fast, especially once you start doing short practice tasks on location.
One consideration: it’s only about four hours, so you’ll leave with confidence, but you still need a bit of outside practice to fully “own” exposure and focus settings.
In This Review
- Key highlights that make this course worth your time
- First stop: London Bridge meeting point and what to bring
- Why the small-group format matters for beginners
- Stop 1: More London and City Hall for ISO, shutter speed, and aperture control
- Stop 2: Tower Bridge for composition, depth of field, and focusing
- Stop 3: Tower of London from across the river for light and shutter decisions
- The learning method: practice assignments plus on-the-spot coaching
- Price and value: what $336.07 buys you in London
- Who should book this course (and who might want something else)
- Should you book the Beginners Photography Course in London?
- FAQ
- FAQ
- How long is the Beginners Photography Course?
- What is the maximum group size?
- Is the instruction tailored to my specific camera?
- What camera settings will I learn and practice?
- Where does the course meet and end?
- What should I bring with me?
- Is food or lunch included?
- What are the language and age requirements?
- Can I cancel for a full refund?
Key highlights that make this course worth your time
- Max six people means you’re not stuck watching while someone else gets help.
- Camera-specific coaching covers how your buttons and menus work, even if you inherited an older model.
- Hands-on assignments train the relationships between ISO, shutter speed, and aperture.
- Stop-by-stop photo training goes from City Hall basics to Tower Bridge composition and then the Tower of London light.
- Expert tuition from London Photo Tours and Workshops (teaching since 2005) keeps the pacing beginner-friendly.
- Free admission for each stop means you spend your time shooting, not waiting for tickets.
First stop: London Bridge meeting point and what to bring
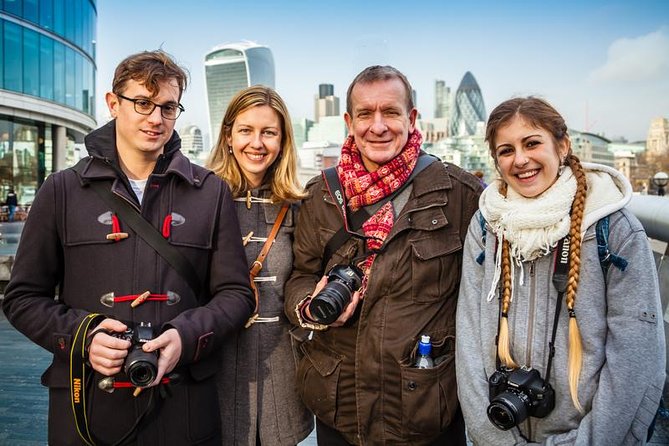
The course starts at London Bridge Station, Approach Road, SE1 9SP. It’s easy to reach by public transport, and the area makes sense for a beginner session since you can walk, regroup, and get to shooting points without long transfers.
Before you go, make sure you show up ready to shoot: bring your fully charged battery (and a spare if you have one) plus memory cards. This matters because beginner learning works best when you can immediately try the setting the moment it’s explained. If your camera uses a rechargeable battery that dies quickly, you’ll feel it during practice, so plan a backup.
Also check that your camera has enough modes available to experiment (manual, aperture priority, shutter priority—whatever your model offers). The whole point is that you’ll learn how to control exposure and focus, not just memorize a few settings.
You can also read our reviews of more photography tours in London
Why the small-group format matters for beginners
In a group this size, you get two benefits at once: better pacing and real feedback. When there are up to six people, the tutor can notice if someone is mixing up ISO versus shutter speed or if a focus mode is set incorrectly.
That’s the big difference between a lecture and a workshop. You don’t just hear about exposure; you practice it. And if you get confused, you can ask right away instead of waiting until the next stop.
This course also handles one of the biggest beginner frustrations: different camera brands and models. The instruction is geared toward the camera you own, and Lou’s approach specifically aims to make the confusing parts simpler—like turning shutter speeds, ISO, focus, and aperture into terms you can recall in the moment, not after you’ve gone home.
Stop 1: More London and City Hall for ISO, shutter speed, and aperture control
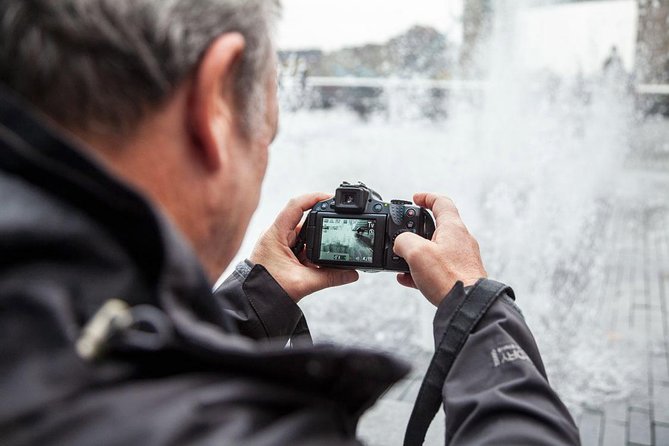
The session begins at More London and City Hall, a scenic, practical teaching location where you can test settings while still having a clean view of subjects and depth. This two-hour block is where the course does its heavy lifting.
Here’s what you should expect at this stage:
- You’ll learn how to use your camera effectively and control the main functions and settings.
- You’ll get instruction tailored to your exact camera model, so you aren’t stuck translating someone else’s menu layout.
- You’ll work through short assignments designed to practice core concepts.
The three big concepts you’ll work with are ISO, shutter speed, and aperture. For beginners, the value isn’t just knowing what each one does. It’s learning how they interact. In practice, you’ll start to see why changing one setting affects the others—so your photos stop looking random and start looking intentional.
Another underrated part of this stop is learning how to approach different subjects. Even if your gear is basic, you can still improve results by thinking about what you’re photographing: the light on a building edge, the distance to your subject, and what you want sharp versus soft. The tutor helps you make those decisions so you’re not just clicking the shutter and hoping.
A common theme from people who take this type of course is leaving with a camera manual that finally makes sense. That’s because the manual isn’t treated like homework. It’s treated like a tool you can use immediately, with someone pointing to the right controls and showing you what changes on the screen or in the final photo.
Stop 2: Tower Bridge for composition, depth of field, and focusing
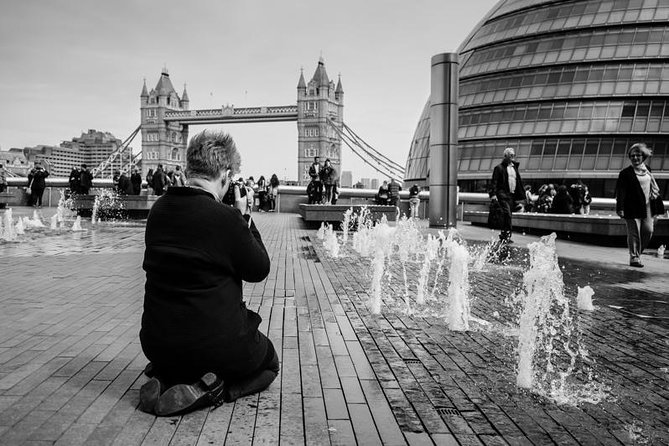
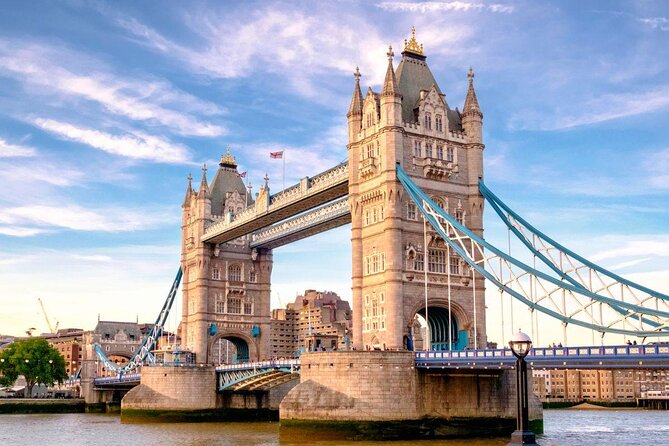
Next you move to Tower Bridge, shooting from across the river. This is where composition becomes more than a word on a camera website.
You’ll be taught:
- How to frame the bridge with attention to composition and depth
- How light changes your results (and why the same scene can look very different)
- How to use different focusing techniques
- How to improve framing and help your shots feel more deliberate
Depth of field is a natural fit here because you can experiment with what’s sharp and what falls softly out of focus. Beginners often think focus is one setting, but the reality is more practical: focus technique and aperture choice work together. When you get that, your camera starts producing images that look like you meant to take them.
This stop lasts around 30 minutes, so it’s not a time to wander. It’s more like a guided photo lab: learn one idea, test it right away, then apply it before you move on.
If you find yourself prone to shooting in the same way each time, this stop is especially useful. The tutor keeps you from getting stuck in a safe routine by prompting you to change how you approach the scene.
Stop 3: Tower of London from across the river for light and shutter decisions
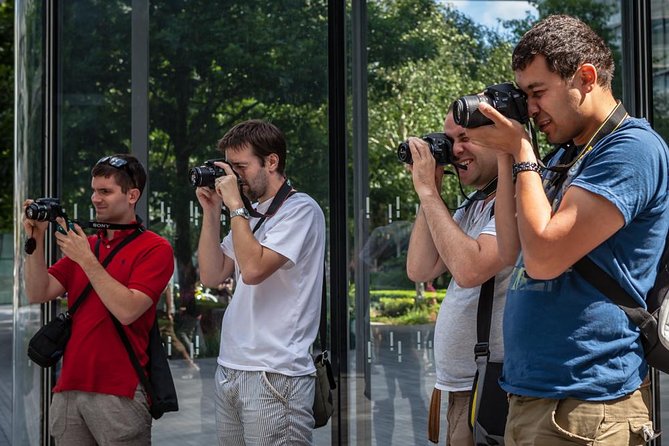
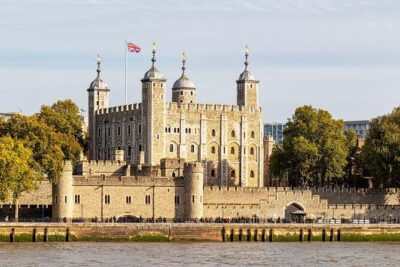
The third and final photo stop is the Tower of London, again photographed from across the river. The structure of this block is similar—teach a set of ideas, then apply them quickly—but the emphasis shifts.
You’ll focus on:
- Lens choices (based on what your kit can do)
- Shutter speed decisions
- Composition and how to place the subject in the frame
- How to use light effectively
This is a great place to connect shutter speed with real-world motion and camera shake. Even if you don’t plan to do long exposures, you’ll learn how shutter speed affects how your camera captures movement and how safe a handheld shot is.
You’ll also get guidance on how to handle a variety of subjects, which matters because landmark photos are rarely just about the landmark. They’re about edges, angles, reflections, contrast, and the light quality on your day.
This stop is also around 30 minutes, so the rhythm stays beginner-friendly: short lessons, fast practice, then move along with momentum.
You can also read our reviews of more tours and experiences in London



The learning method: practice assignments plus on-the-spot coaching
The workshop style is straightforward: teach a concept, then make you practice it. Short assignments during the City Hall segment help you move from passive understanding to active skill.
What makes this method work:
- You’ll practice the relationships between ISO, shutter speed, and aperture, which is where beginners get stuck.
- The tutor can help you correct issues immediately, whether it’s the wrong mode selected or confusion about focus behavior.
- Because the group is small, questions don’t get lost.
People also mention how the tutor takes time with real problems, not just explanations. One example is getting help when a camera needs a reset to behave correctly. That kind of patience matters because beginner frustration often comes from a settings problem, not from your ability.
Lou’s teaching style is repeatedly described as making it easy to remember the differences between shutter speeds, ISO, focus, and aperture. In practical terms, that means you’ll be able to look at your camera, see what’s set, and know what you’re changing instead of guessing.
Price and value: what $336.07 buys you in London
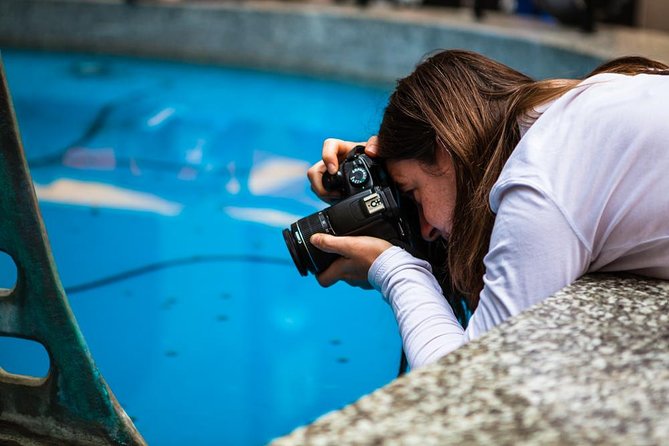
At $336.07 per person for about four hours, this isn’t a cheap activity on paper. But the value is in the constraints: max six people, camera-specific instruction, and three structured shooting stops where you can apply what you just learned.
If you’ve ever tried to “learn photography” with random YouTube clips and one day of trial-and-error, you know the hidden cost. Time disappears fast, and you often end up with more confusion than photos. Here, you buy guided practice plus feedback.
Also, the stops show admission ticket free notes for the listed locations, which typically reduces the risk of spending your learning time dealing with entrance logistics instead of photography. Food and drinks are not included, but that’s normal for a walking-based course in central London.
If your goal is to get out of Auto mode and stop treating your camera like a black box, this price can make a lot of sense. You’re not paying for sightseeing alone. You’re paying for instruction that targets the exact choices you control in-camera.
Who should book this course (and who might want something else)
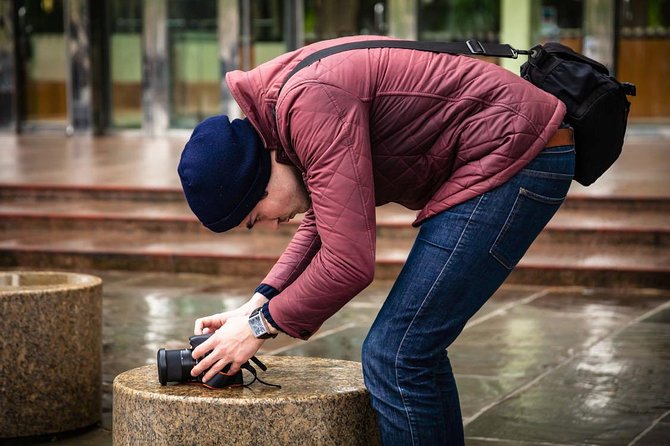
This course is a great match if:
- You’re a true beginner and feel stuck on Auto or Scene modes
- You want the basics taught in a way you can remember
- You’ve inherited a camera and don’t know what the settings really do
- You want confidence to travel with your camera and handle it with ease
You might consider a different level if:
- You already shoot with manual confidently and mainly want advanced techniques (long exposure strategies, complex off-camera lighting, or fast action methods)
- You’re looking for a pure portrait or street photography walkthrough without much foundational exposure work
The strong focus on camera control and composition makes it especially useful for people who want practical improvements for landmark sightseeing and everyday travel photos.
Should you book the Beginners Photography Course in London?
If you want a calm, structured way to learn your camera while walking between landmark viewpoints, I’d book it. The combination of small-group size, camera-specific guidance, and quick practice at City Hall, Tower Bridge, and the Tower of London is exactly what most beginners need to go from confusion to control.
One smart move before you go: identify one thing you struggle with right now—exposure, focus, or remembering settings. When you arrive with that clarity, you’ll get more out of the teaching and your practice assignments.
FAQ
FAQ
How long is the Beginners Photography Course?
It’s approximately 4 hours.
What is the maximum group size?
The workshop has a maximum of 6 travelers.
Is the instruction tailored to my specific camera?
Yes. Teaching is geared exclusively towards the camera you own.
What camera settings will I learn and practice?
You’ll learn and practice the basics of ISO, shutter speed, and aperture, along with focusing and composition ideas used on location.
Where does the course meet and end?
It starts at London Bridge Station, Approach Rd, London SE1 9SP, UK, and ends back at the meeting point.
What should I bring with me?
Bring your own camera, a fully charged battery (and a spare if you have one), and memory cards.
Is food or lunch included?
No. Food and drinks and lunch are not included.
What are the language and age requirements?
The workshop is offered in English, and the minimum age is 16 years.
Can I cancel for a full refund?
Yes. You can cancel up to 24 hours in advance for a full refund, based on the experience’s local time.
If you want, tell me your camera model (or whether it’s a DSLR, mirrorless, or compact) and what you struggle with most. I can suggest which parts of the course will likely help you fastest.