Enamel turns scrap metal into color. In London, this enamel jewellery making class is a hands-on way to learn the art, not just watch it. You’ll start from a silver blank, apply enamel powder, and finish with polishing, all in about 2 hours.
I especially like two things. First, the class is built for a small group (typically no more than four), so you’re not lost in a crowd, and teacher Mabel gives direct help. Second, the studio gives you a real set of creative options: you can choose from 40 different designs and learn multiple enamelling techniques, including cloisonné and plique-à-jour.
One thing to consider: while the experience is meant to stay intimate, holiday-style dates can run larger than the ideal studio size. If you prefer quiet, slow instruction, check group size for your exact date before you go.
In This Review
- Key highlights you’ll care about
- Enamel jewellery making in London: the “why” behind the craft
- The 2-hour workflow: from silver blank to kiln-fired color
- Choosing your design: 40 options, plus a realistic plan
- One-on-one enamel coaching with teacher Mabel
- Cloisonné and plique-à-jour basics you can actually use
- Tools, kiln firing, and what’s included (and what isn’t)
- The real value of $94.10: what you’re paying for
- Where you meet and how the timing works
- Who should book this London enamel workshop
- Should you book the enamel jewellery making class?
- FAQ
- How long is the enamel jewellery making class in London?
- What time does the class start?
- Where is the meeting point?
- Is the class beginner-friendly?
- What’s included in the price?
- Are chains or larger blanks included?
- What happens if it’s cancelled due to weather?
- Is there a limit on group size?
Key highlights you’ll care about
- Intimate instruction with one-on-one guidance, led by teacher Mabel
- 40 blank design choices so your project doesn’t start from a blank page
- Hands-on enamel skills, including color blending, layering, and special effects
- Everything you need is included, like the kiln time and tools (not just a demo)
- You can add extras after booking for chains and larger blanks if you want a more substantial finished piece
Enamel jewellery making in London: the “why” behind the craft
Enamel sounds old-fashioned until you see what it can do. When powdered glass gets applied to metal and then fired in a kiln, it locks into a smooth, glassy surface that can look crisp, stained, and even painterly.
What I like about this workshop is that it treats enamelling like a skill you can learn, not a magic trick. You get a short foundation first—what enamel is, where it’s used, and the basics of major techniques—then you jump into making your own piece with practical, step-by-step coaching.
This is also a great fit for London because it’s not just another “see a building” activity. You leave with something physical that carries color and texture, and you’ve got the process in your hands—filing, designing, applying powder, firing, and finishing.
You can also read our reviews of more tours and experiences in London



The 2-hour workflow: from silver blank to kiln-fired color
The class moves in a clear sequence, which matters because enamelling is time-sensitive. You don’t want to be guessing where you are in the process, and the structure here keeps you moving from prep to firing to final polishing.
Here’s the shape of the experience:
First, you get an introduction to enamel jewellery. You’ll cover what enamel is and why it’s used, plus an overview of techniques like cloisonné and plique-à-jour. You’ll also be shown what the process actually looks like from start to finish, so the kiln step doesn’t feel mysterious.
Next comes the materials and tools phase. You’ll use fine silver blanks, plus the studio tools for shaping and preparing metal. There’s also paper and pencil for sketching, and you’ll work with items like sandpaper and polishing compound so you can get the surface ready and clean after firing.
Then you start making. You choose a blank from 40 designs, file it, and sketch your idea. This is important for first-timers: you’re not required to invent everything from scratch. You’re translating a design you picked into a plan for how the enamel powder will sit, layer, and show color.
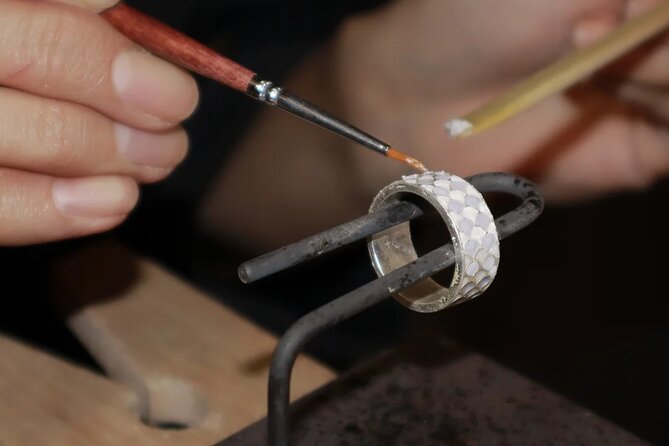
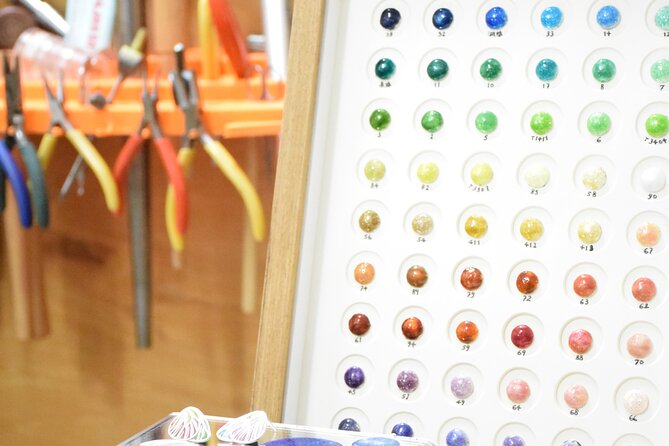
After you sketch, you’ll get one-on-one guidance while applying enamel powder. This is where teacher coaching makes a real difference. You’ll get help with color blending, layering, and getting the exact look you want, instead of hoping your first try works out.
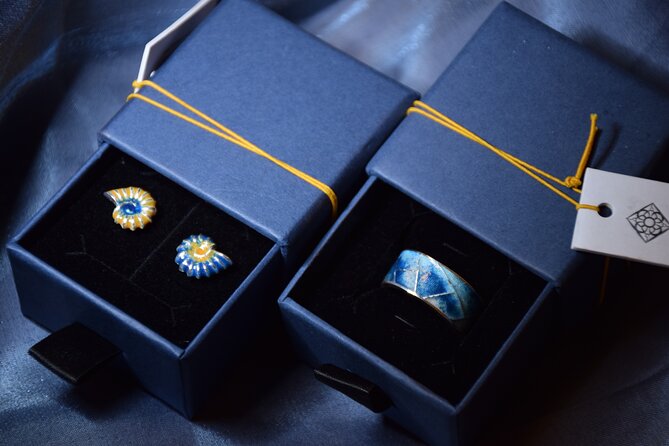
Finally, your piece goes into the kiln for baking, and then you return for finishing and polishing. That last part is what turns a project into a finished jewellery piece: it smooths edges and gives the enamel that clean, glossy look.
Choosing your design: 40 options, plus a realistic plan
Picking a blank can feel like the hardest part of any craft class, because your choice affects how enamel behaves. This workshop makes it easier by offering 40 different types of designs to choose from.
Here’s the practical advantage: your design choice sets the “work zones” for enamel powder. If your blank has more shape detail, you’ll need a more careful approach to where colors go and how they layer. If the design is simpler, you can focus more on color blending and smooth gradients.
You’ll also file the blank and sketch your design. The sketch step is more than busywork. It helps you decide where each color goes before you’re dealing with enamel powder (which doesn’t forgive last-minute changes).
One smart move for your first time: don’t aim for a complicated pattern that requires lots of tiny enamel decisions. You can still be creative, but keep your plan readable. In a 2-hour class, a design that’s “bold and clear” usually finishes better than something overly fussy.
One-on-one enamel coaching with teacher Mabel
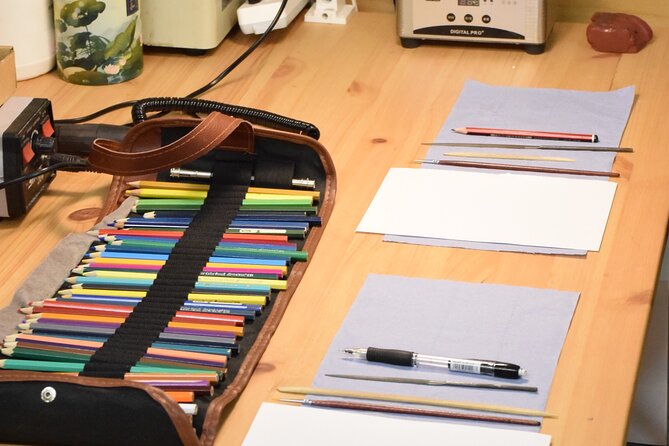
A craft class stands or falls on instruction. What I like here is the one-on-one guidance during the enamel application stage. You’re not left to figure out how to sprinkle enamel powder, where to place it, or how to build layers.
Teacher Mabel (named in the experience feedback) gives concrete direction on how to apply powder and how to control outcomes like:
- Color blending so you get transitions instead of hard blocks
- Layering so you can build depth and texture
- Effects that come from how powder thickness and placement interact during firing
Even if you’re brand new, you’re not starting from zero. The class is designed to bring beginners in comfortably, and the process is structured so you can learn technique while you’re making your own piece.
There’s also a creativity side to the guidance. You’ll talk through design concepts and build a project that feels personal, not like a factory sample.
Cloisonné and plique-à-jour basics you can actually use
The class doesn’t just name techniques. It gives you a quick historical and practical context, then points you toward what those techniques mean in real making.
Two techniques you’ll hear about:
- Cloisonné, typically involving compartments that help enamel sit in defined areas
- Plique-à-jour, known for the way enamel can create a stained-glass-like effect
Even if you don’t fully execute every traditional detail of those methods in a single session, the point is to give you vocabulary and understanding. That helps you make choices while you’re layering powder and thinking about the look you want after baking.
If you like crafts that reward planning, this part is especially valuable. You’ll walk away not only with a piece, but with a mental map of what enamel techniques aim to accomplish.






Tools, kiln firing, and what’s included (and what isn’t)
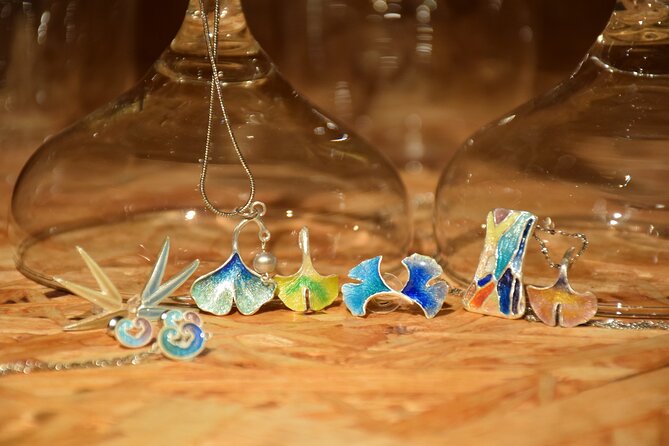
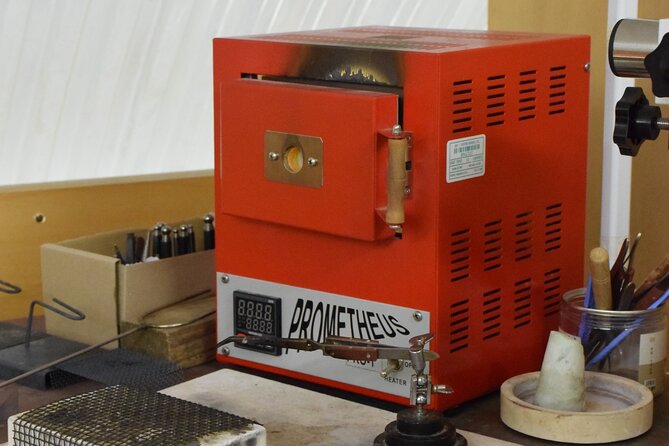
This is one of the best value angles: the booking price includes the materials and key equipment you’d otherwise have to pay for or rent. The experience notes that you get all materials and tools, including the kiln and studio tools like a rotary micromotor.
So you’re not showing up hoping you can figure out supplies on the fly. You’ll have the tools, you’ll have the firing, and you’ll have the finishing products needed to polish at the end.
What is not included is also clearly spelled out:
- Silver chains cost £10
- Medium silver blanks cost £20
- Large silver blanks cost £50
This matters because many people underestimate the “finishing hardware” part of jewellery. If your blank choice naturally works with a chain or finding, you’ll likely want to add one. If you want a bigger or more substantial piece, larger blanks cost extra.
My practical advice: decide early whether you want a simple wearable as-is, or if you want the freedom to size up. If you’re budget-conscious, keep your first project smaller and focus on mastering enamel application, not expanding metal size.
The real value of $94.10: what you’re paying for
At $94.10 per person, the headline price can look moderate or high depending on how you compare it. The value becomes clearer when you list what you’re actually getting.
You’re paying for:
- Studio time guided by an instructor
- A small-group workshop setup
- Tools like filing and finishing supplies
- A kiln firing step (the part that turns enamel from powder to glassy surface)
- The structured process from blank selection to polishing
That’s why this can feel like good value even if you only care about the final piece. Craft classes often charge for instruction and then leave you to cover basic equipment yourself. Here, the experience includes the key equipment and materials needed to make the project happen.
The biggest value tip is to use the time for learning. Don’t just rush to copy a look. Ask for help with blending and layering while you’re there. You’ll get more out of the class if you treat it like a skill session, not only a souvenir.
Where you meet and how the timing works
You start at Zoey Filigree, Bedlam Mews, London, SE11 6DF. The class starts at 2:00 pm and ends back at the meeting point.
The timing is tight in a good way. With about 2 hours total, you’ll have enough time to design, apply enamel, and bake, without dragging the session into a long day.
Also helpful: the experience is described as near public transportation, and it uses a mobile ticket. If you like walking in with no fuss, that setup makes the day smoother.
Who should book this London enamel workshop
This class is a strong match if you want:
- A hands-on manual arts experience rather than a passive sightseeing day
- A creative outlet with beginner-friendly instruction
- A small-group format where you can ask questions and get direct help
- A takeaway you can wear or gift, created through a repeatable process
It may be less ideal if you prefer totally private time. The experience is meant to stay small, but special dates can run bigger groups than you might expect. If you know you work best in quiet spaces, check your date’s expected group size.
Finally, if you’re excited by specific enamelling ideas like cloisonné and plique-à-jour, you’ll get enough background to make those terms meaningful rather than just trivia.
Should you book the enamel jewellery making class?
Book it if you want a structured, guided craft day where the important steps—especially enamel application and kiln baking—are handled for you. You’ll also leave with a real project plan, not just a finished object.
Skip it or think twice if your goal is only a quick souvenir and you dislike any chance of a busier studio on special dates. Also do a quick budget check for extras like chains or larger blanks, since the class covers tools and materials, but not every jewellery component.
If you want to learn enamel in a way that feels practical and creative, this is a smart use of an afternoon in London.
FAQ
How long is the enamel jewellery making class in London?
The workshop runs for about 2 hours.
What time does the class start?
The start time is 2:00 pm.
Where is the meeting point?
You meet at Zoey Filigree, Bedlam Mews, London SE11 6DF.
Is the class beginner-friendly?
Yes. The experience is designed for beginners, and you’ll receive guidance throughout the making process.
What’s included in the price?
The booking includes all materials and tools, plus studio equipment such as the kiln and tools used during the class.
Are chains or larger blanks included?
No. Silver chains cost £10, and medium silver blanks cost £20 and large silver blanks cost £50 if you choose to add them.
What happens if it’s cancelled due to weather?
If poor weather causes cancellation, you’ll be offered a different date or a full refund.
Is there a limit on group size?
Yes. The experience has a maximum group size listed as 8 travelers. The class is also described as an intimate group in the studio.