REVIEW · LONDON
London Creative Photography Tour
Book on Viator →Operated by London Photo tour · Bookable on Viator
London looks different through a lens. This London Creative Photography Tour turns the city’s biggest landmarks into photo exercises, with a guide pointing out what to shoot and how to shoot it as you walk.
I really like that you get personalized attention while practicing in the streets, not just standing for photos. A second strong point is the mix of classic sights like Big Ben and the London Eye plus hands-on urban photography tricks for your phone or camera.
The main thing to consider is that it’s on-foot only for about 3 hours, and the pace is ambitious. If you don’t like walking in crowds, or you’re unsure about moderate fitness, you might want a slower option.
In This Review
- Key things you’ll notice right away
- Why this London Creative Photography Tour works so well
- Nelson’s Column: your first photo lesson before the landmarks
- Trafalgar Square to Westminster: Big Ben framing practice
- Across the Thames toward the London Eye: viewpoints and compositions
- Covent Garden, Embankment, and Charing Cross street scenes
- Southbank to St Paul’s: river light, bridge detail, and landmark scale
- Millennium Bridge and the optional Southwark line to Tower Bridge
- Phone-friendly tips and camera practice (plus gear you can try)
- What you learn from Jesus: practical, pro-level teaching
- Price and value: is $142.67 worth it for 3 hours?
- Who this tour suits best
- Should you book this London Creative Photography Tour?
- FAQ
- How long is the London Creative Photography Tour?
- Where does the tour start?
- Where does the tour end?
- What landmarks will I photograph?
- Do I need to bring my own camera?
- What extra camera gear is available to test?
- Is the tour for phones or cameras?
- Is transportation included?
- Do I get coffee or tea?
- What languages are available?
- FAQ
- What does the tour ticket format look like?
- What’s the fitness level needed?
- Is it a private tour?
- Can I cancel for a refund?
Key things you’ll notice right away
- Nelson’s Column start: quick photo concepts before you hit the big landmarks
- Phone or camera instruction: tips that work whether you shoot on a smartphone or a traditional camera
- Thames bridge photo practice: angles and layers while crossing key river spots
- Street photography time: busy areas around Trafalgar, Covent Garden, and Southbank for real-life scenes
- Equipment try-outs: you can test new mirrorless cameras, lenses, and accessories like tripods/filters
- Coffee/tea break (likely): a reset point for review and next-step ideas
Why this London Creative Photography Tour works so well
This isn’t a “bus-stop-by-bus-stop” sightseeing route. The goal here is to help you see photo opportunities in real time, then make pictures of them. That makes the tour great for both beginners and people who already know their camera but want fresh ideas for city shooting.
In a short 3 hours, you’ll cover a lot of ground along central London and the Thames. The value is in learning repeatable skills—framing, viewpoint, and composition—while you’re actually surrounded by subjects.
Also, it’s a private small-group format. That matters because you can ask questions, try a new approach, and get real-time feedback instead of waiting your turn.
You can also read our reviews of more photography tours in London
Nelson’s Column: your first photo lesson before the landmarks
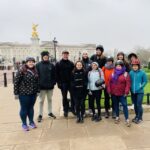
You start at Nelson’s Column at Trafalgar Square, which is a smart choice. It’s a high-energy area with plenty of visual textures: monuments, angles, people moving through, and lots of “background clutter” you’ll learn how to manage.
Before you even get too far, your guide introduces basic photography concepts along the walk. This is where you’ll get practical prompts like where to position yourself for a cleaner frame, how to use the environment for stronger storytelling, and how to approach street scenes without freezing up.
If you’re shooting with a phone, you’ll still get useful guidance. If you’re using a camera, this is a great moment to connect the dots between settings and what you’re aiming to capture.
Trafalgar Square to Westminster: Big Ben framing practice
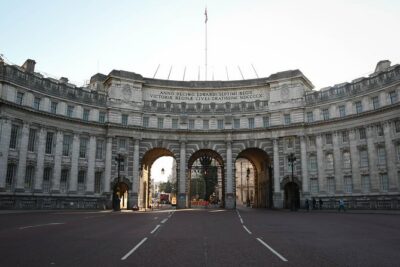
From Trafalgar Square, the route heads toward the Palace of Westminster area. You pass by the Admiralty Arch and the Mall, and you’ll see Horse Guards Parade and the Cenotaph along the way.
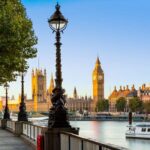
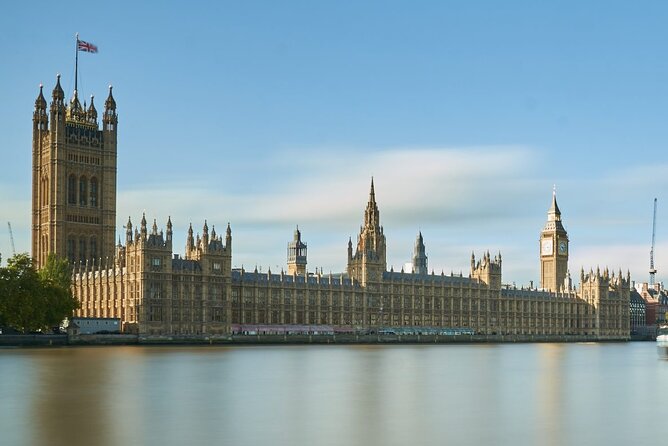
This section is all about structure and symmetry. You’re walking through a corridor of famous landmarks where small changes in your position can dramatically improve a photo. The tour then pushes you into the key payoff: Parliament Square Garden, where you can photograph the exterior of the Palace with Big Ben and Westminster Abbey.
What I like about this part is that it’s not just about the postcard view. You’ll share creative techniques meant to help your pictures look intentional—using foreground elements, adjusting your angle, and thinking about how the landmark sits inside the frame rather than just filling it.
Crowds are part of the game here. The benefit of doing it with a guide is that you can learn how to work around them—shooting through gaps, timing small windows, and choosing compositions that still feel clean.
Across the Thames toward the London Eye: viewpoints and compositions
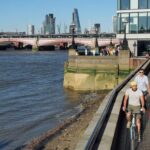
Next comes one of London’s best themes for photographers: bridges and layered city views. You cross the Thames heading toward the London Eye, and you’ll also move through the area around Leake Street, the Golden Jubilee Bridges, and Waterloo.
This is where you get practice building photos with multiple elements: palace shapes in the distance, river lines, and the bridge structure in the foreground. It’s also ideal for experimenting with different framing styles—wide shots that show context, or tighter compositions that focus on relationship between landmarks.
If you’re using a phone, this stretch helps you learn how to steady your shot and how to avoid the “everything is close-up, nothing looks connected” problem. If you’re using a camera, it’s a good place to test lens choice and positioning.
Also, the Thames itself changes the photo mood fast. You can get different looks just by shifting a few steps and adjusting your angle to capture reflections or to separate the subject from background noise.
Covent Garden, Embankment, and Charing Cross street scenes
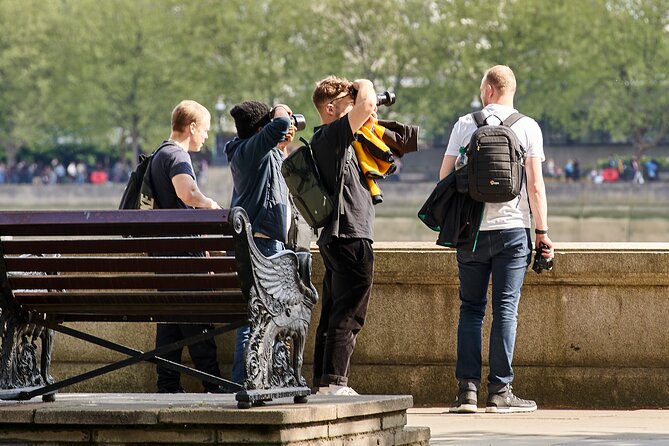
After crossing again by the Golden Jubilee Bridges, you head toward Embankment, Charing Cross, and Covent Garden. These are lively areas where the street photography opportunities are instant.
This section is useful because it forces you to switch gears. Instead of only shooting landmarks, you’re practicing how to photograph people and everyday moments near major sights. You’re learning to spot good light on faces, strong movement patterns, and interesting details in shopfronts and street activity.
A big win here is that your guide can help you decide when to go wide and let the street do the storytelling, and when to simplify the frame so your subject actually pops.
Even if you’re not a street photographer by nature, this is where the tour starts feeling fun and different. The city stops being a list of icons and becomes a set of photo situations you can actually handle.



Southbank to St Paul’s: river light, bridge detail, and landmark scale
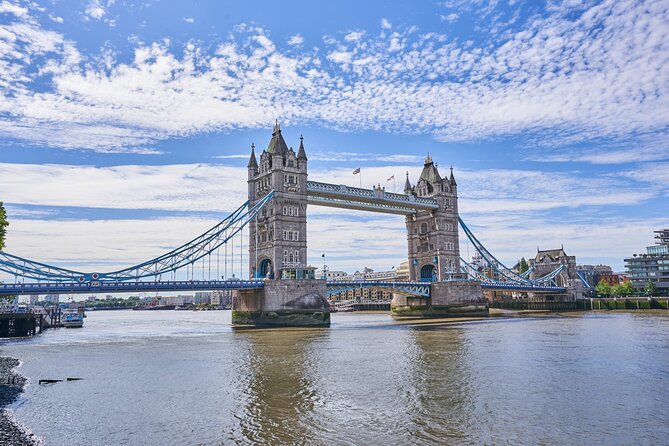
Now the tour moves south along the river. You cross by Waterloo Bridge, walk past the National Theatre and into the Southbank area, then pass the historic Blackfriars Bridge.
Blackfriars Bridge matters visually. The tour specifically highlights the iron arches, stone carvings, and scenic views, which gives you something concrete to photograph besides the obvious skyline. It’s a nice change from focusing only on the river surface or distant landmarks.
Then you reach St. Paul’s Cathedral, and you get to practice landmark scale. St Paul’s is dramatic enough that it can easily overwhelm your frame if you’re too close or shoot from the wrong angle. A guide helps you pick a distance and position that lets the building feel powerful without turning the photo into a messy zoomed-in block.
If you want a souvenir photo that actually looks like it took thought, this is often the moment. It also sets up the next part, since you’ll be thinking about how the river and bridges connect everything.
Millennium Bridge and the optional Southwark line to Tower Bridge
As you walk toward Millennium Bridge, there’s likely a short break for a hot drink. I like that the tour builds in this reset. Photography days can turn into hurry-up-and-snap; a pause lets you review what’s working and get ready for the next set of shots.
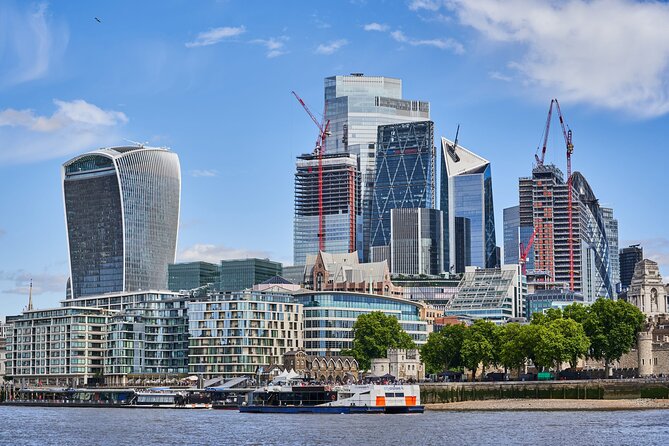
From there, if there’s time, you might continue along the north riverside side to take pictures of Tate Modern, Shakespeare’s Globe, London Bridge, or The Shard in the Southwark direction. This is a flexible “choose your skyline flavor” zone, where the goal is to keep your eye moving and your compositions evolving instead of repeating the same image style.
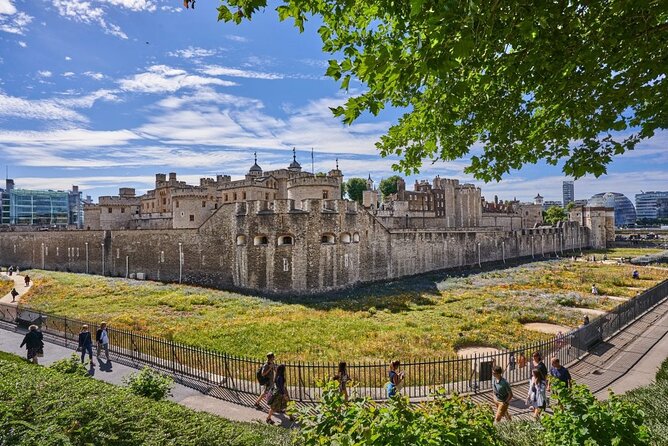
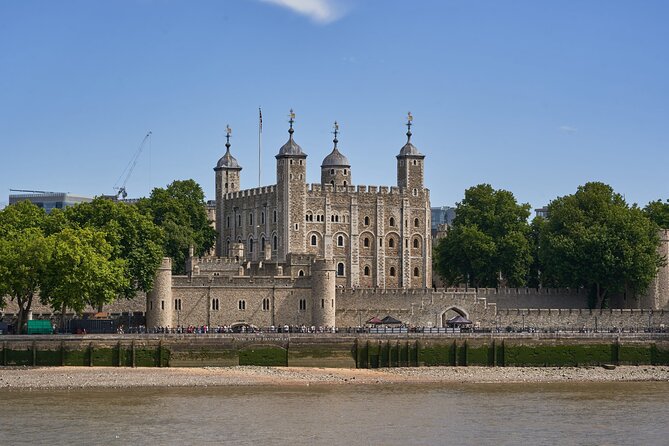
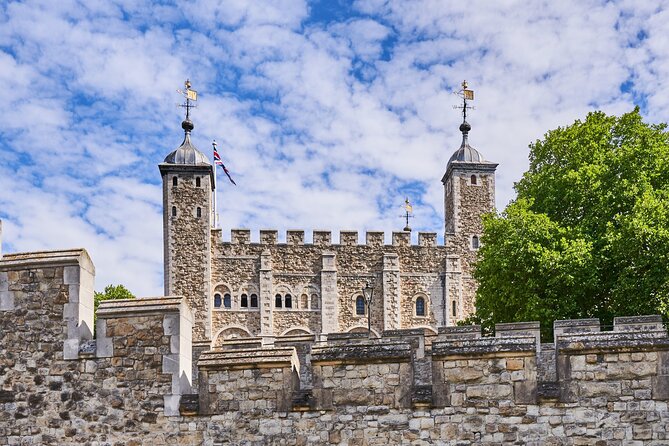
Then the route finishes near the big historic duo: you’ll see HMS Belfast and arrive at the Tower of London and Tower Bridge to end the tour. This is a strong closing stretch because it gives you both heritage and modern engineering in the same photo session.
If you’re working through a personal challenge—like taking one photo per composition style—this finale is great. It gives you plenty of variety in subjects, shapes, and background textures.
Phone-friendly tips and camera practice (plus gear you can try)
You’ll bring your own camera, but the tour includes the chance to test additional equipment. That’s a smart value-add for people who want to experiment without committing to a new gadget.
You can try/test new generation mirrorless cameras with different lenses and accessories like tripods and filters. Even if you don’t use them for every shot, playing with them helps you understand what each tool is really doing for your pictures.
For phone users, the big takeaway is learning how to approach urban scenes with the same mindset as a camera shooter: control your framing, manage your background, and don’t be afraid to take many shots from small position changes.
Practical advice you can carry after the tour:
- Choose your position first, then aim the camera. Moving your feet is often the best “lens change.”
- For landmarks, try a few compositions: wide for context, medium for relationship, and tighter shots for detail.
- For bridges and rivers, use lines to guide the eye rather than just letting everything fill the frame.
What you learn from Jesus: practical, pro-level teaching
The guide’s name is Jesus, and the feedback I’ve heard around his teaching style is consistent: he’s professional, willing to teach, and focused on helping you actually improve. That matters because photography lessons can get abstract fast. With this kind of guide, you get ideas you can apply immediately.
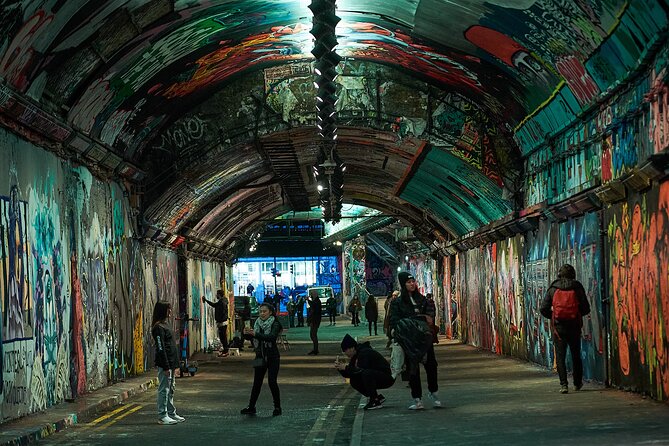
One standout detail from prior experiences is that Jesus takes people to extra photo moments that you might not expect on a standard landmarks route—like an Underground graffiti tunnel, and other add-on scenes such as China town, City Hall, and Covent Garden’s market area. That’s a sign he’s watching for strong visual opportunities and adapting to what will create better photos.
Another theme is that he explains designer-style photography techniques, not just how to capture an image. That’s a useful distinction. It helps you think about photos as compositions with intent, not only as records of what you saw.
Also, the tour is available in English or Spanish, which makes it easier to ask questions and get clear guidance.
Price and value: is $142.67 worth it for 3 hours?
At $142.67 per person for about 3 hours, the price makes sense if you compare it to the cost of private instruction plus the experience of walking London with focused photo help.
Here’s what you’re paying for:
- A guided route through prime photo zones (Trafalgar/Westminster/Thames/Southbank/St Paul’s/Tower area)
- A photo concepts intro, so you don’t just “look around”
- Coffee and/or tea included, which is a small but real comfort benefit during an active walk
- The chance to test mirrorless gear, lenses, and accessories like tripods and filters
Two cost-aware notes:
- There’s no transportation included. You’ll want to get to the start near Trafalgar Square on your own.
- You bring your own camera. If you don’t have one, this isn’t the kind of tour where they fully supply everything.
If you’re the type who likes to get better during a trip (not just collect photos), this is a good value. If you want relaxed sightseeing only, you may find the pace and photo focus a bit much.
Who this tour suits best
I’d book this if you:
- Want a hands-on London photography experience in a short time
- Shoot with a phone or camera and want practical framing tips
- Enjoy walking and you’re okay moving through crowded central areas
- Like getting instruction from a pro guide and applying it immediately
I’d skip it or look for a gentler option if you:
- Have trouble with long stretches on foot
- Want mostly “sit and watch” sightseeing
- Don’t want a lesson component and would rather explore freely
Also, because it’s a private small-group format, it tends to work well for friends and couples who want shared photo time without blending into a large crowd.
Should you book this London Creative Photography Tour?
Yes, if you want to leave with photos that look like you planned them. The tour’s real strength is teaching you how to see the city as a set of composition problems you can solve—then letting you practice across Westminster, the Thames, Southbank, St Paul’s, and the Tower area.
Book it especially if you like variety: landmark scale shots, bridge-and-river viewpoints, and real street scenes in places like Covent Garden and Charing Cross. And if you’re the type who benefits from a guide who’s actually willing to teach (Jesus has a strong reputation for that), you’ll likely have a great time.
FAQ
FAQ
How long is the London Creative Photography Tour?
It’s about 3 hours of walking, plus any short breaks during the route.
Where does the tour start?
The meeting point is at Nelson’s Column, A400 Trafalgar Square, London WC2N 5DS, UK.
Where does the tour end?
The tour finishes in a different location; the route leads to the Tower of London and Tower Bridge.
What landmarks will I photograph?
You’ll have chances to capture major sights such as Big Ben, the London Eye, St. Paul’s Cathedral, and the Tower of London/Tower Bridge. You’ll also pass through areas around Westminster Abbey, Covent Garden, and Southbank.
Do I need to bring my own camera?
Yes. You need to bring your own camera, but you can try/test additional equipment during the tour.
What extra camera gear is available to test?
You can try mirrorless cameras with different lenses and accessories like tripods and filters.
Is the tour for phones or cameras?
It works for both. You’ll get tips and tricks for urban photography using your phone or camera.
Is transportation included?
No. The tour does not include transportation such as taxis or hotel/airport pickups.
Do I get coffee or tea?
Yes. Coffee and/or tea is included.
What languages are available?
The tour is offered in English or Spanish.
FAQ
What does the tour ticket format look like?
It uses a mobile ticket.
What’s the fitness level needed?
The tour asks for travelers with a moderate physical fitness level.
Is it a private tour?
Yes, it’s private, and only your group participates.
Can I cancel for a refund?
Free cancellation is available up to 24 hours in advance for a full refund.