REVIEW · LONDON
London Photography Masterclass – Private Photography Lesson
Book on Viator →Operated by Aperture Tours · Bookable on Viator
London at night turns every frame into a puzzle. This private photography lesson helps you move safely through the city while learning how to shoot it, not just record it. I especially like the one-on-one coaching that lets you ask questions as you go, and I like the focus on hard night techniques like long exposures. One possible drawback: the pace is active, so if you want a slow, loungey workshop, this walk-and-shoot format may feel tight.
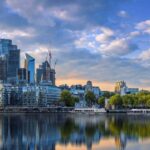
You’re in Central London for a loop of famous sights, with chances to frame reflections and city lights along the Thames side. Stops are set up for practical night photography, from dramatic government buildings to the skyline glow around St. Paul’s and the Shard. You’ll also get guidance on how to handle the real-world problems of night shooting, like exposure choices and staying steady.
The coaching style matters here. Guides such as Derrick, Rose, and Noemi come through in the feedback as patient teachers who tailor help to what you care about, then nudge you past good-enough. Even when London gets messy, the session aims to keep you photographing instead of waiting it out.
In This Review
- Key things you’ll notice right away
- Why a private night photo lesson beats shooting on your own
- The route in three hours: from Parliament glow to the Thames reflections
- Stop-by-stop: what each landmark teaches your camera to do
- Long exposure, light trails, light painting, and high ISO
- Price and value: what $218.21 buys you
- What to bring (so your night photos don’t turn into stress)
- Who this London class suits best
- Should you book it?
- FAQ
- How long is the London photography masterclass?
- Is this a private tour or a group experience?
- What’s included in the price?
- Do I need to bring a camera or tripod?
- Where does the tour start and end?
- Can I cancel for a full refund?
Key things you’ll notice right away
- Private, question-friendly instruction: you’re not guessing; you can ask, adjust, and re-shoot on the spot.
- Night photography skills are the main event: long exposure, light trails, light painting, and higher-ISO shooting are built into the lesson.
- You get to shoot iconic landmarks the way locals photograph them: the route is designed for framing and reflections, not just sightseeing.
- Coaching adapts to your level and interests: guides like Derrick focus on what you want to photograph, then push for a stronger image.
- Rainy conditions don’t end the lesson: Rose’s approach in wet weather shows the value of learning to work in less-than-ideal light.
- You’ll practice fundamentals on real scenes: Noemi’s emphasis on how ISO, f-stop, and exposure time change the result makes the theory stick.
Why a private night photo lesson beats shooting on your own
Shooting London solo at night sounds easy. You just walk to a famous spot, press the shutter, and hope. The catch is that night photos reward control: steady support, correct exposure, and intentional composition. A private guide helps you build that control fast.
I like that this isn’t a vague “take cool pictures” tour. It’s a structured photography session that turns iconic locations into practice targets. That means you can leave with images that look like you knew what you were doing, because you did learn what to do.
There’s also a practical safety angle. London after dark is busy in places, and moving from viewpoint to viewpoint can be confusing. Having a guide who knows the flow helps you spend energy on photography instead of worrying about where to be next.
You can also read our reviews of more private tours in London
The route in three hours: from Parliament glow to the Thames reflections
This is a compact route that strings together major landmarks without wasting time. You’ll start near St Thomas’ Hospital / County Hall, then work your way through Westminster and across to the Southbank and toward the City skyline. The whole point is to give you enough locations for variety while still leaving time to practice camera settings.
The best way to think of it: you’re getting a photo walk with teaching moments. Each stop is an opportunity to make a specific style of image—wide angles with lights, stronger silhouettes, longer exposures with moving traffic, and steadier compositions when you set up for longer shutter speeds.
One note for your expectations: with ten stops in about three hours, you’ll likely be moving between viewpoints fairly often. That’s great for variety, but it means you should be ready for short setup windows and quick re-framing rather than long stays at each location.
Stop-by-stop: what each landmark teaches your camera to do
Below is how I’d use these stops if I were planning my own shoot. You’ll get guidance in real time, but knowing what each area is good for helps you work faster.
Stop 1: Westminster Bridge
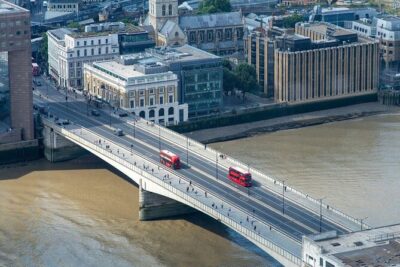
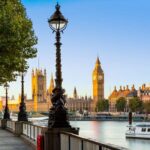
This is your warm-up for night city scenes. You’ll get a chance to learn how to expose for bright lights without turning the rest of the scene into darkness. It’s a good place to test your baseline settings before you move into darker areas.
Stop 2: Palace of Westminster
Think drama and contrast. You’ll likely focus on how architectural lighting behaves at night and how to keep detail instead of blowing out highlights. This stop is ideal for practicing careful exposure choices.
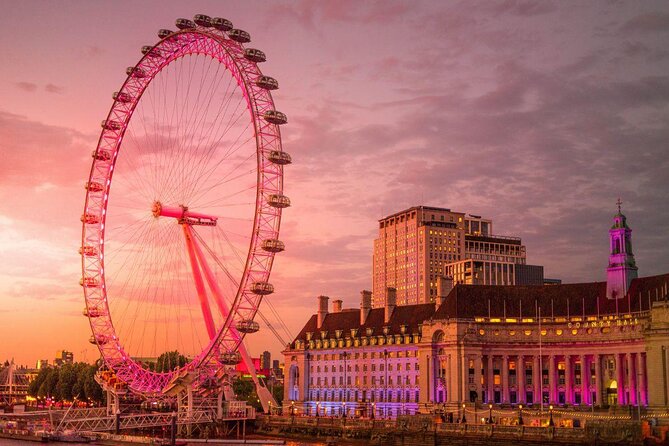
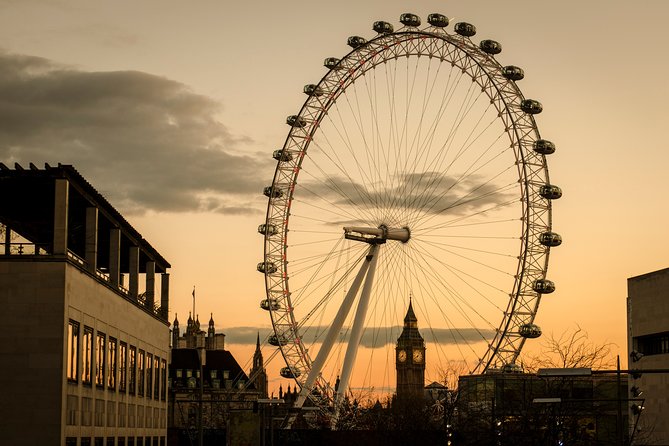
Stop 3: London Eye
The London Eye adds bright, structured light sources that can look great in long exposures. It’s also useful for learning what happens when you lengthen the shutter time: lights can smear, trails can form, and the scene can change character quickly.
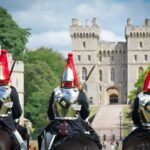
Stop 4: Household Division
This is a chance to shift from postcard-wide shots into more “how do I frame this” thinking. Night photography often rewards clean lines, stable footing, and consistent framing, and this kind of landmark can help you practice that.
Stop 5: Waterloo Bridge
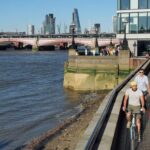
Bridges are basically built for reflections. You’ll get more practice with how to manage light sources and water/streetside reflections in the same frame. If you want to understand exposure control for reflective surfaces, this is a key stop.
Stop 6: Southbank
Southbank gives energy. Street lighting, movement, and mixed visual textures all make night photography trickier—in a good way. You’ll have a chance to learn how to handle the chaos so your photos still feel intentional.
Stop 7: Millennium Bridge
This is where long exposure and light-trail thinking can really click. You can practice steadiness and timing—especially if you’re working with moving elements in the frame. It’s a great stop for experimenting with shutter speed changes.
Stop 8: St. Paul’s Cathedral
St. Paul’s is a night photography magnet for a reason: lights, symmetry, and a strong silhouette against the sky. It’s also a useful location for learning how not to overexpose big bright highlights. The goal is to keep the building readable while the sky and surrounding details still have character.
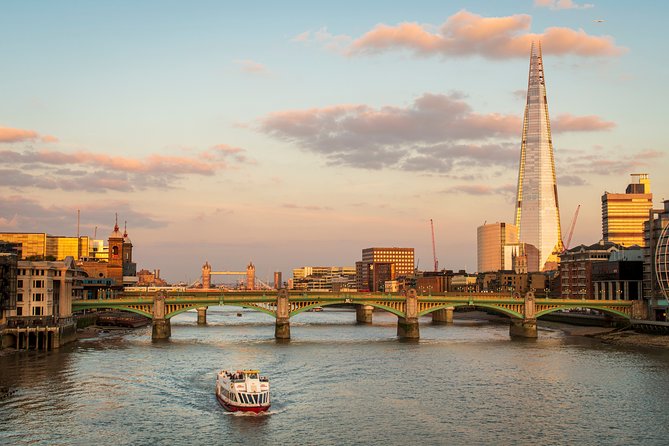
Stop 9: The Shard
The Shard’s vertical shape challenges your composition. At night, it can look stunning, but you’ll want to manage how much sky you include and how bright the building lights look at your chosen exposure. It’s a strong “composition plus exposure” training spot.
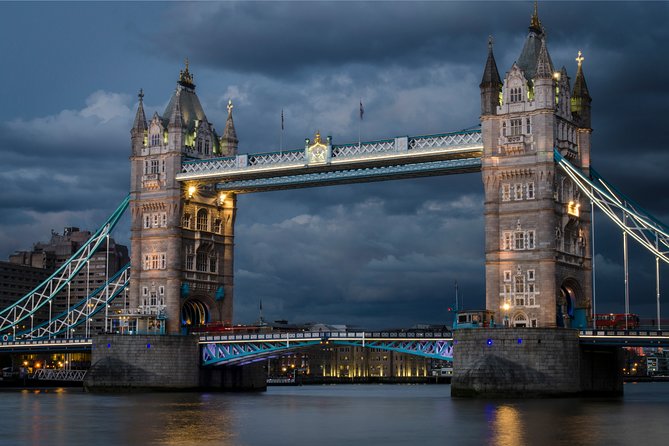
Stop 10: Tower Bridge
Tower Bridge is your closing wow moment, especially for reflection-based images. This is where the session’s night-focused techniques—long exposures, light trails, and controlled highlights—can produce some of the most satisfying results.
Long exposure, light trails, light painting, and high ISO
This is the part you’re paying for. Night photos don’t fail because you’re bad; they fail because you’re fighting low light without a plan. The session focuses on the hard parts: long exposure, light trails, light painting, and high ISO shooting.
Here’s what that means in plain terms. Long exposure is about time: you control how long the camera gathers light. Longer time can create smoother night vibes, but it also demands steadiness and careful exposure so bright lights don’t blow everything out.
Light trails are the payoff when you combine motion with longer shutter speeds. Instead of hoping the result looks cool, you learn how to shape what you get. You’ll practice how moving headlights and street motion turn into lines and curves, and how exposure length changes the thickness and intensity of trails.
Light painting is more hands-on and helps you understand how your camera responds when new light enters the frame. Even if you’re new, this is where instruction helps you stop guessing and start directing.
High ISO is your emergency tool and your creative tool. Higher ISO lets you shoot faster shutter speeds or darker scenes, but it can add noise. You’ll learn how different ISO choices affect the image quality so you can pick the trade-off you want.
If you’ve never done long exposure successfully, you’ll probably appreciate how coaches like Noemi break it down in a teach-by-doing way—connecting ISO, f-stop, and exposure time to the visible outcome. That kind of feedback is the difference between one lucky photo and real skill.
Price and value: what $218.21 buys you
At about $218.21 per person for roughly three hours, this isn’t a budget street tour. But the value comes from what’s included: a professional photographer guide plus a local guide, and actual photography tuition with review.
Here’s the practical comparison. If you’re trying to learn night techniques independently, you’ll spend time researching settings, testing alone, and likely throwing away frames. With a private teacher, you can correct mistakes in the moment and repeat shots until they look right.
Also, a private format matters. When you’re the only group, you don’t get crowded out by other participants needing help. That’s especially important when shutter speeds and settings need real-time adjustments.
One caution on value: you’re not getting a camera or tripod. The instruction assumes you can shoot with your gear and, if you have it, use stabilization for longer exposures. If you’re arriving with only a phone and no idea how it handles night mode, you might still learn, but your options could be limited.
You can also read our reviews of more photography tours in London
What to bring (so your night photos don’t turn into stress)
This experience doesn’t include a camera or tripod, so you should plan around that. I’d treat your kit like part of the lesson, not just background equipment.
Bring:
- Your camera (and any chargers or memory cards you need)
- A lens you’re comfortable using for both wide scenes and detail shots
- If you have one, a tripod for long exposures (the tour notes specifically mention using one)
- A warm layer; the session suggests a scarf for comfort during the night shoot
If you don’t have a tripod, you can still learn exposure and composition. Just understand that long exposures are harder without stabilization, and the guide may steer you toward settings and framing that work better for your setup.
Who this London class suits best
This is best for you if you want skills, not just photos. It’s a strong fit if you already enjoy photography and want to level up quickly during a short London stay. It also works well for repeat visitors to the city, because you’ll be building images beyond the obvious “major sites only” approach.
I’d also recommend it for you if you’ve tried night shots before and felt stuck. The guides’ style—like Derrick taking time to discover what you’re interested in, then pushing for a better final image—matches people who want a coach, not a lecture.
If you’re traveling with someone who is more experienced than you, this private setup can still help both people. One person can focus on technique, while the other learns how to frame and expose on the fly.
Should you book it?
If you want London night photography skills you can actually use—especially long exposure and high ISO choices—this is a smart booking. You’re getting guided location access, real teaching, and enough major landmarks to practice multiple styles within about three hours.
Skip it only if you already know night photography deeply and you prefer unguided exploring with lots of downtime. The session is active by design, and the focus stays on shooting and learning rather than lingering.
For most people, though, the blend of private instruction, iconic night viewpoints, and hands-on technique practice makes it an easy “yes” if your goal is better photos, not just stamps in your itinerary.
FAQ
How long is the London photography masterclass?
It lasts about 3 hours.
Is this a private tour or a group experience?
It’s a private experience. Only your group participates.
What’s included in the price?
You get a professional photographer guide, a local guide, and photography tuition and review.
Do I need to bring a camera or tripod?
Yes. A camera and a tripod are not included, so you’ll want to bring your own.
Where does the tour start and end?
It starts at St Thomas’ Hospital / County Hall (Stop D), London SE1 7EP, UK, and ends back at the meeting point.
Can I cancel for a full refund?
Yes. You can cancel up to 24 hours in advance for a full refund.