REVIEW · LONDON
London Photography Tour – Private Tour
Book on Viator →Operated by London Photo Tours and Workshops · Bookable on Viator
London looks different through a camera. This private walk turns classic central sights into teachable photo moments, with on-the-spot coaching. I like the hands-on instruction focused on settings like aperture and depth of field, and I like the way the route keeps you shooting while you learn.
You get a true private feel, which matters when you want help that fits your camera and your questions. I also like that there’s a built-in check-in to review your progress, so you know what to fix before the next landmark.
One possible drawback: you’ll be on your feet for about four hours, and you need to bring a charged camera and extra memory cards, or you’ll hit a wall fast.
In This Review
- Key things that make this London photo tour worth it
- Where you’ll start, what you’ll do, and how the coaching works
- Trafalgar Square: framing lions, fountains, and far-reaching views
- The National Gallery: turning architecture into modern compositions
- Leicester Square: light, portraits, and experimenting from new angles
- Piccadilly Circus side streets: telephone boxes, buses, and Eros
- Horse Guards Parade and Whitehall: freezing action and using flash fill
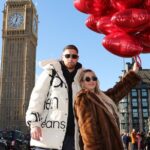
- Big Ben and Parliament Square: icon shots with better angles and sharper focus
- Westminster Abbey from the outside: scale, lens choice, and zoom strategy
- London Eye across the river: landmark scale plus river-life timing
- Who this is best for (and who might want a different tour)
- Value for $336.40 per person: why private coaching can be cheaper than re-learning later
- What to bring so the tour doesn’t feel like a tech support call
- The bottom line: should you book this London photo tour?
- FAQ
- How long is the London Photography Tour?
- What is the price per person?
- Is this a private tour?
- Where does the tour start and end?
- What language is the tour conducted in?
- Do I need to bring my own camera?
- Is the tour suitable for beginners and smartphone cameras?
- Does the tour run in bad weather, and what’s the cancellation window?
Key things that make this London photo tour worth it
- Fine Art photography teaching while you walk, not a lecture at the start
- Aperture, focus, and depth of field lessons tied to real landmarks
- Framing and composition tips for everything from statuary to street scenes
- Guidance that works with your exact camera (from DSLR to smartphone)
- Photo progress review pauses so you improve mid-tour, not later
- Free-admission stops noted along the route, so you spend time shooting
Where you’ll start, what you’ll do, and how the coaching works
This is a private photography walking tour in central London, run in English and designed for people of all skill levels. The pace is walk-and-shoot, with your guide working alongside you to help you make better photos with the camera you already own.
You meet near Charing Cross (London WC2N 5DP) and finish at Victoria Embankment. The whole experience runs about 4 hours, and you’ll cover multiple landmarks on foot. That route choice is smart: it keeps you close to iconic scenes and gives you chances to practice settings again and again.
The biggest value is that your instructor doesn’t just point at sights and say take a photo. You get specific direction on how to use light, framing, lens choices, focusing, shutter speed, and white balance at each stop. If you’ve ever come back from a trip with great memories but meh photos, this kind of guided structure is exactly what helps.
And yes, the tour is built for real life—all-weather operations means you should dress for whatever London is doing that day.
You can also read our reviews of more private tours in London
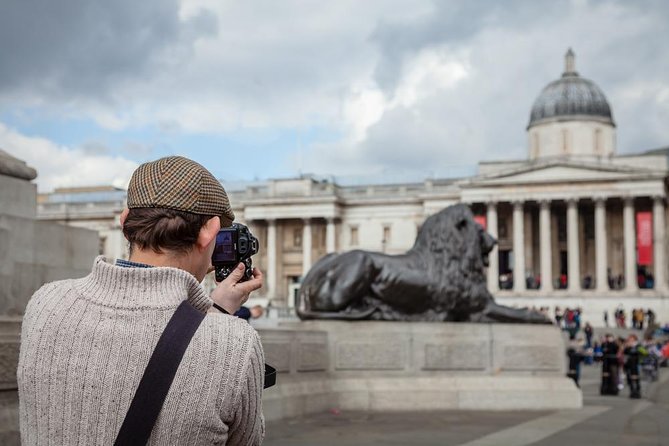
Trafalgar Square: framing lions, fountains, and far-reaching views
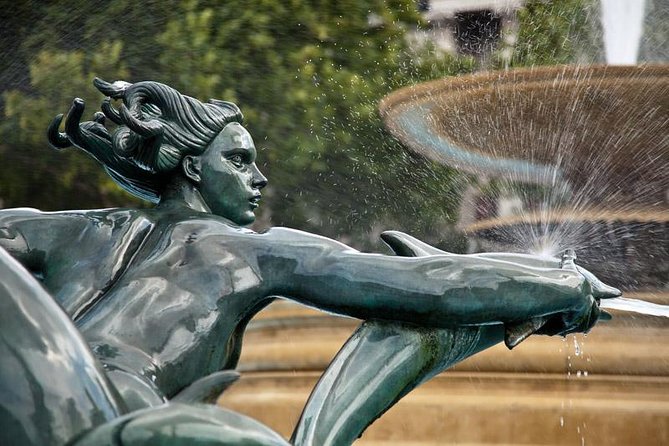
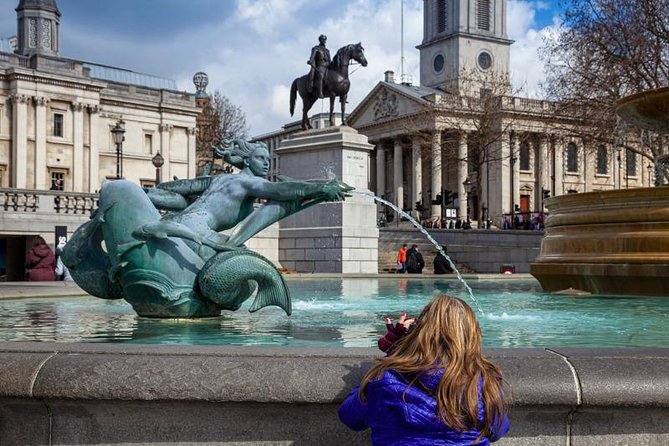
You begin at Trafalgar Square, one of the easiest places in London to learn composition because the scene has clear anchors: statues, fountains, big architecture, and street-level action all at once. This stop also gives you plenty of practice for learning how to see what matters in a busy frame.
Here’s what you can expect to work on:
- How to improve composition when there are multiple visual subjects
- How framing can add creativity (like using parts of the scene to “hold” your subject)
- How to use light effectively as the sun shifts and clouds roll in
- Lens choices and how they change the story you’re telling
Your guide also helps you capture the feel of the square, not just the “postcard angle.” You’ll have time for street performers and chalk drawings too, which is useful because it teaches you to photograph small, human moments near major landmarks.
The most practical lesson at Trafalgar is probably depth of field. The square has areas you can isolate (statues, lions, a performer) and areas that reward wider shots (views toward Whitehall). That makes it an ideal place to compare how your camera behaves when you change aperture or focus points.
The National Gallery: turning architecture into modern compositions
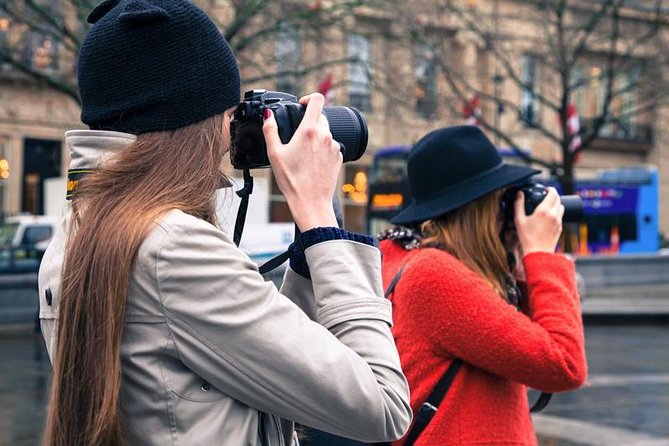
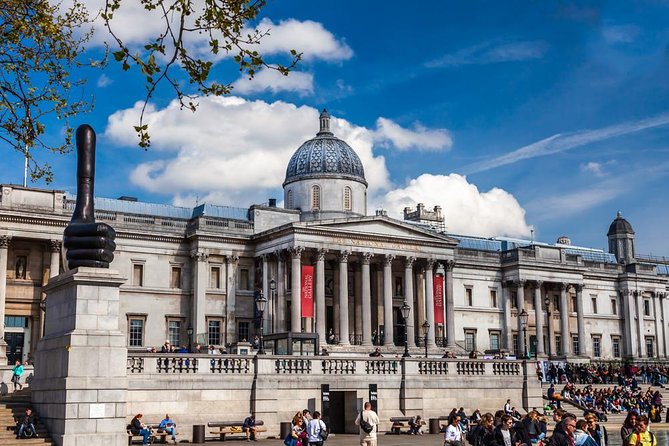
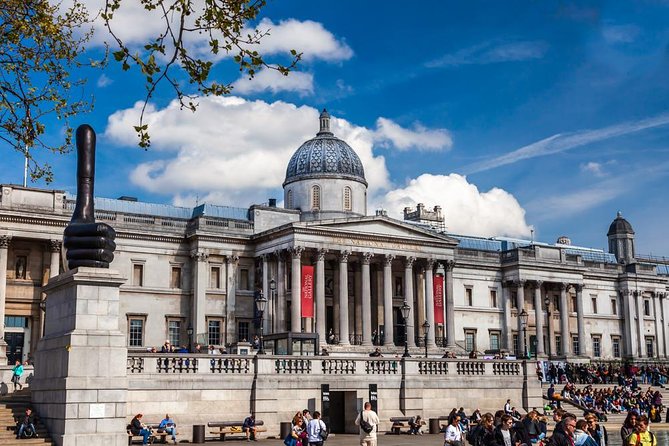
Next up is the National Gallery, where the teaching shifts toward angles and technical control. Architecture can be tricky because lines can look straight in real life but wonky in a photo. So this stop is built around helping you get control of what your frame includes and how it reads.
Expect guidance on:
- Angles of view so the building feels intentional, not random
- Depth of field so you decide what’s sharp and what falls off
- Focusing techniques so edges and key details don’t blur when you want them crisp
This is the kind of stop that pays off later. If you learn how to make a building look strong and clean, you start applying the same thinking to storefronts, bridges, and even portraits on the street.
A helpful detail: you’re not timed into a rush. This is short, but it’s enough to try a few variations and get feedback before you move on.
Leicester Square: light, portraits, and experimenting from new angles
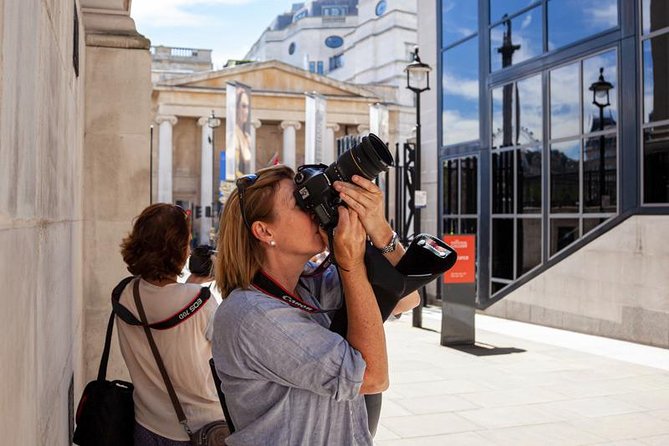
Then you head to Leicester Square, a place where the lighting can change fast and the subjects are varied. You’re looking at gardens, fountains, statues, and that classic movie-premiere vibe. The goal isn’t to “wait for perfect lighting.” It’s to practice how your settings respond to London light.
This stop includes lessons on:
- Composition and framing from different angles
- How light affects what your camera records
- Aperture and depth of field
- General camera handling
You’ll also spend time photographing well-known figures and statues, including William Shakespeare and a portrait of Charlie Chaplin. That’s a smart choice because statues behave like real portrait subjects: you can work on focusing, sharpness, and how the background either supports or distracts.
If you’re a beginner, this is a good stage to learn what your camera can do without feeling lost. If you’re more experienced, it’s a good place to tighten your habits—quickly choose a focus point, test exposure, and adjust aperture based on whether you want the background soft or sharp.
Piccadilly Circus side streets: telephone boxes, buses, and Eros
From Leicester Square you make your way to Piccadilly Circus, walking through small shops and side streets that help you move past “only big landmark photos.” That matters because London photography isn’t only monuments. It’s texture, color, and street-level detail.
At Piccadilly Circus, you’ll focus on recognizable subjects like:
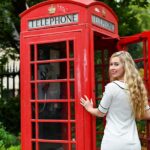
- Red telephone boxes
- Red London buses
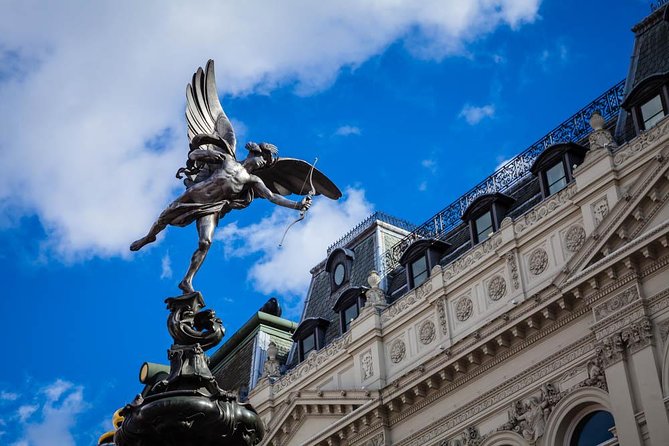
- The Statue of Eros
- High banners over Regent’s Street
This stop is where your guide leans into how to shoot scenes with strong color. You’ll get advice on camera handling, composition, light, white balance, and even “how to see” the same place in a totally fresh way.
There’s also a short working break to review what you’ve done so far. I like this kind of pause because it prevents you from finishing a tour with a bunch of shots you don’t understand. By then, you should have a clearer idea of what’s working: sharper subject detail, better framing, and settings you can repeat.
You can also read our reviews of more photography tours in London
Horse Guards Parade and Whitehall: freezing action and using flash fill
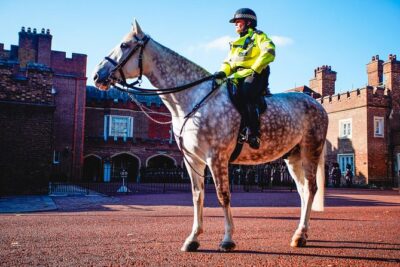
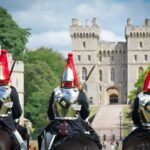
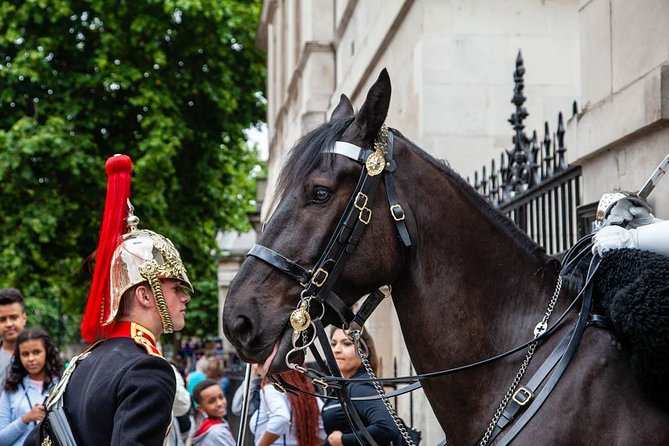
Now it’s time for Horse Guards Parade and Whitehall, where the subject is movement and uniforms. This is a great stop for learning how to handle portraits with a “real-world” challenge: your subject might not stay still for long.
You’ll photograph guards on duty and mounted sentries, learning how to get imposing portrait results. That includes practical instruction on:
- Aperture values for portraits
- Shutter speed to freeze action
- Focusing techniques
- Fill in flash when needed
The mention of flash fill is important. It’s not just a theory lesson. In a place with mixed lighting, fill flash can help balance shadows and bring out uniform detail without wrecking the scene.
You also pass by Cabinet War Rooms and statues honoring the Women of the Second World War. The tour uses these as background context points, which is useful for building photos that say more than: here is a famous building.
Another helpful element at this stage: you’re also practicing your “quick decision” skills. You’ll need to adjust exposure and focus based on where the light is hitting the uniforms and faces.
Big Ben and Parliament Square: icon shots with better angles and sharper focus
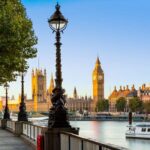
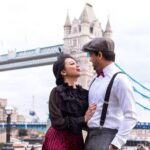
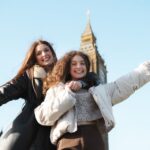
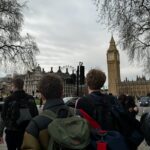
From Whitehall you move into Westminster, where Big Ben and the Houses of Parliament are the big targets. You’ll also photograph a red telephone box in this iconic setting, which gives you a strong visual anchor in the frame.
You then spend time in Parliament Square, where your guide shows you how to capture the landmark backdrop in a way that looks intentional. Expect instruction on photographing statues like:
- Winston Churchill
- Gandhi
- Nelson Mandela
This is one of the best parts of the tour for people who want “I want my photos to look like I know what I’m doing.” Your guide helps you choose views that keep the scene readable and focuses on framing and scale so the subject doesn’t look swallowed by the architecture.
You’ll also work through the details that make the difference between a snapshot and a keeper: using the right lens choice, and picking an approach so your statues have presence.
Westminster Abbey from the outside: scale, lens choice, and zoom strategy
Next is Westminster Abbey, photographed from the outside. This is a classic “scale challenge,” which is why it’s worth the time even though you’re not going inside.
Your guide focuses on:
- Scale in your composition
- Lens choice and how zoom selection changes your view
- Creative aperture values to shape depth and focus
A close-up lens choice can make carvings and edges feel sharp and dramatic. A wider approach can show you how the building dominates the space around it. Either way, you’re practicing a key skill: deciding what part of “big” you want your camera to emphasize.
If you’ve ever struggled with tall buildings looking small in photos, this is the stop where you can fix that.
London Eye across the river: landmark scale plus river-life timing
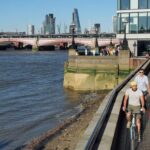
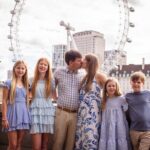
The final major photographic stop is the London Eye, shot from across the river. This is where the tour leans into the idea that scale matters, but so does timing.
You’ll photograph the London Eye’s scale (it’s listed as 443 feet / 135 meters) and learn how to frame it so it looks imposing, not flat. Your guide also focuses on:
- Framing for relationship between landmark and surroundings
- Lighting and lens choices based on what the day is doing
- Depth of field to separate the Eye from the rest of the river scene
- Shutter speed and focusing techniques
- Composition for river-life moments
If there are boats, reflections, or passersby, you’ll have a chance to practice how shutter speed changes movement. That’s the sort of lesson that keeps paying off long after your trip ends.
Who this is best for (and who might want a different tour)
This tour works well for:
- Beginners who want clear, step-by-step camera help and a safe place to ask questions
- Intermediate shooters who want to sharpen technique like focusing, exposure, and framing
- People with smart phones too, since it’s designed to suit all types of digital cameras, including smartphones
- Families or mixed-age groups, since the pacing is walk-and-coach and the instruction fits different skill levels
It may feel less ideal if you want a pure sightseeing tour with no time spent on camera settings. This one is built around photography learning, and you’ll likely spend a good chunk of each stop adjusting how you shoot.
Value for $336.40 per person: why private coaching can be cheaper than re-learning later
At $336.40 per person for about 4 hours, the value depends on what you want out of the trip. If you only want a few “okay” photos, you could do this route on your own.
But if you want to improve, the pricing makes more sense. You’re paying for an experienced Fine Art photographer with extensive teaching experience, plus the instruction and on-the-ground guidance tailored to your camera. You also get a review of photographs during the tour, so you can apply changes immediately.
That part is huge. Learning from mistakes after the tour is slower. Learning mid-walk means you come away with more strong shots and better control, not just more images.
Also, each stop is structured with practical photo prompts. That reduces wasted time. Instead of wandering, you’re aiming your camera with a purpose.
What to bring so the tour doesn’t feel like a tech support call
You should bring:
- Your own camera
- A fully charged battery
- Extra memory cards (you’ll take more photos when you’re practicing)
The tour also works in all weather, so dress for conditions. It’s near public transportation, so you’re not stuck far from transit if you need a break.
Service animals are allowed, which makes the experience easier for more people.
The bottom line: should you book this London photo tour?
If you want London photos that look intentional—better framing, stronger focus, and settings you actually understand—this is a smart way to spend half a day. The private format helps, especially if you want real coaching from a Fine Art photographer and you’d rather get hands-on feedback than generic tips.
If you prefer a relaxed “take photos whenever” walk with zero camera instruction, you might enjoy a general sights tour more. But if you like learning while you travel, you’ll leave with more than souvenirs. You’ll leave with skills you can use on your next city.
FAQ
How long is the London Photography Tour?
The tour runs for about 4 hours (approx.).
What is the price per person?
The listed price is $336.40 per person.
Is this a private tour?
Yes. It’s a private tour exclusive to your group.
Where does the tour start and end?
It starts at Charing Cross, London WC2N 5DP and ends at Victoria Embankment, London.
What language is the tour conducted in?
The tour is offered in English.
Do I need to bring my own camera?
Yes. You should bring your own camera and make sure your battery is fully charged.
Is the tour suitable for beginners and smartphone cameras?
Yes. It’s suitable for all skill levels and for digital cameras including smart phones.
Does the tour run in bad weather, and what’s the cancellation window?
It operates in all weather conditions. It also has free cancellation if you cancel up to 24 hours in advance for a full refund.