REVIEW · LONDON
Iconic London Landmark Photography City Tour
Book on Viator →Operated by Sky Blue Photography | Sky Blue Creatives · Bookable on Viator
London turns into a camera playground. This private photo tour threads together the city’s most photographed spots, then teaches you how to get better results using your camera—DSLR or smartphone. I like the mix of iconic sights and practical coaching, and I also like that you end with an e-guidebook plus a coffee or tea to keep the momentum going.
The one trade-off to consider is the price: at $403.77 per person, this is built for people who want hands-on attention and want to learn fast, not just casually wander. Also, it’s a 3 hours 30 minutes walk with moderate physical demands, so plan for lots of standing and moving.
In This Review
- Key things to look forward to
- Price and value: what you’re paying for on this London photo walk
- The walking route that makes your photos look more intentional
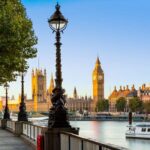
- Stop 1: Big Ben from Westminster Station—how to frame without chaos
- Stop 2: London Eye and the Thames—turn a selfie-style scene into a real photo
- Stop 3: Millennium Bridge—getting sharp city and river lines
- Stop 4: St Paul’s Cathedral corners—where skyline photos become more interesting
- Stop 5 (final photo stop): Tower Bridge from the most photographic angles
- Included extras that help you keep improving after you walk away
- Who this tour is best for (and who might want something simpler)
- Practical logistics: where to meet and how the tour flows
- Should you book this Iconic London Landmark Photography City Tour?
- FAQ
- How long is the Iconic London Landmark Photography City Tour?
- Is this tour private?
- What landmarks are included in the tour?
- Will the tour work for both smartphones and DSLR cameras?
- What’s included in the price?
- Where do we meet and where does the tour end?
- Is transport included?
- Can I cancel for a full refund?
Key things to look forward to
- Private, undivided coaching for your group, with tips tailored to your equipment
- Iconic route with photo goals from Big Ben to Tower Bridge, plus river Thames viewpoints
- Coaching for both DSLR and smartphones, so you won’t feel left behind
- Photo e-guidebook after the tour to help you keep practicing
- Coffee or tea included at the end, so you can decompress and review what you shot
- Tour and group photos included, which is helpful if you’re traveling with a camera but no tripod buddy
Price and value: what you’re paying for on this London photo walk
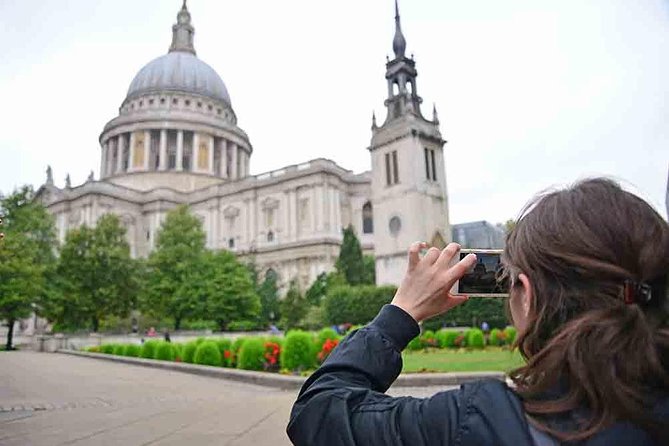
At $403.77 per person for about 3 hours 30 minutes, this isn’t a budget stroll. You’re paying for a private setup, guided photo coaching, and extras that help you keep improving—especially the provided photography e-guidebook and the tour/group photos.
Here’s the value math that matters: you’re covering major landmarks like Big Ben, London Eye, Millennium Bridge, St Paul’s Cathedral, and Tower Bridge in one go. That alone saves time and decision fatigue, because your guide chooses angles and spots you might not find on your own. The coaching also matters because London photo problems are very specific: harsh light, busy backgrounds, long sightlines along the Thames, and the challenge of getting sharp, well-composed frames when you’re walking.
One more practical point: this tour uses a mobile ticket, so plan to have your phone charged. And since the average booking lead time is 195 days, booking early is smart if your schedule is fixed.
You can also read our reviews of more city tours in London

The walking route that makes your photos look more intentional
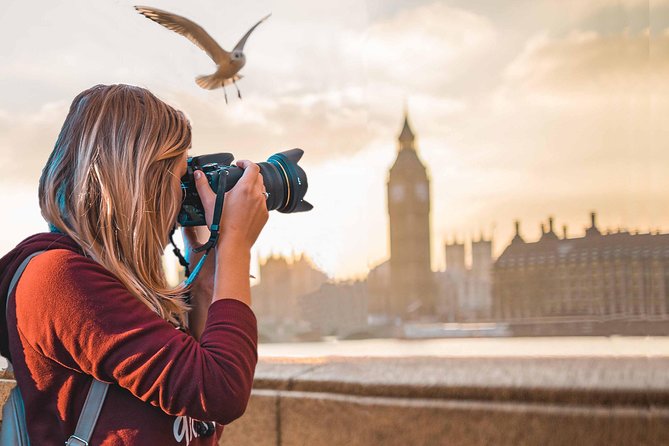
This tour is built like a lesson, not a checklist. Your stops connect visually: Westminster leads naturally into Thames views, those views lead into the City skyline from across the river, and then the route finishes with the drama of Tower Bridge.
You’ll start near Westminster, then keep moving through classic riverfront photo territory. That’s good for you because London photography improves when you practice consistency—same exposure style, similar framing discipline, and better timing. Instead of doing one great shot and then losing the thread, you get repeated chances to apply what you’re learning.
Also, the schedule lists free admission at each landmark stop. That’s helpful because you’re not paying entrance fees while you’re trying to focus on photography. You can simply show up, listen, shoot, and adjust.
Stop 1: Big Ben from Westminster Station—how to frame without chaos
You begin from Caffè Nero (Unit B, Portcullis House, 1-2 Bridge St, London SW1A 2JH), with the route starting at Westminster Station near Big Ben. The timing here is short—about 10 minutes—so the guide’s main job is to get you set up for the right compositions fast.
Big Ben photos are tricky because you’re often balancing two things: getting the clock and tower prominent while also keeping the surrounding clutter under control. This is exactly where coaching helps. You’ll be shown how to think about your viewpoint, how to position the tower in relation to the frame, and how to avoid common framing mistakes that happen when you’re standing too close or too off-axis.
Even with only 10 minutes, this first stop sets the tone. You’re basically training your eye for the rest of the walk: line, symmetry, and clear foreground/background separation.
Stop 2: London Eye and the Thames—turn a selfie-style scene into a real photo
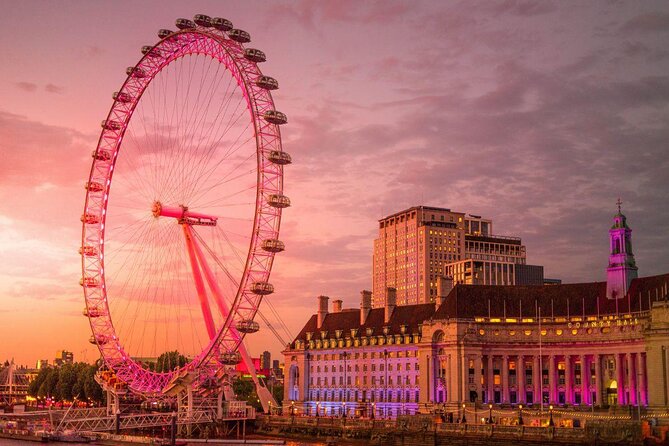
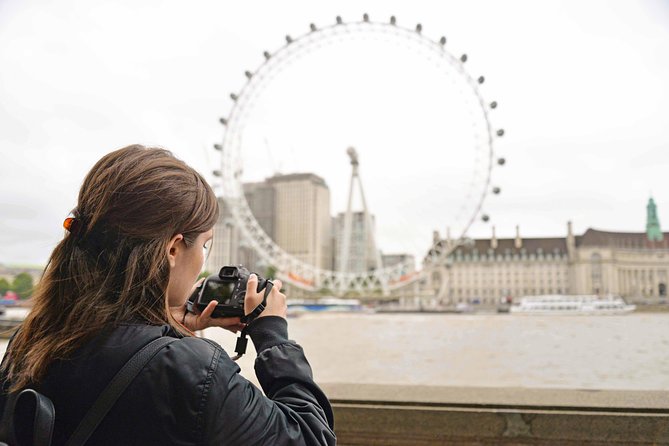
Next you walk past the London Eye, described as Europe’s tallest cantilevered observation wheel. Even though it’s one of the most photographed attractions in London, you don’t get stuck doing only the obvious “stand and shoot” version.
This stop is about using the Thames as your scene driver. The most common issue with London Eye shots is that people treat it like a single subject and ignore the river. Your guide helps you aim for frames where the wheel works with the water, so your photo looks deeper and less flat.
You’ll have around 20 minutes here. That’s long enough to try a few different approaches: wider compositions for context, tighter framing for emphasis, and angle changes to reduce distracting elements. The fact that the tour works for both phones and DSLRs is important here. If your camera has fewer manual controls, you still get guidance on what to prioritize.
Stop 3: Millennium Bridge—getting sharp city and river lines
Millennium Bridge is next, with about 20 minutes scheduled. The good thing about this stop is that the bridge naturally creates leading lines, and those lines pull your eye into the City of London and across the Thames.
Bridges are a photography test. They demand steadier framing, careful timing, and an eye for symmetry. If you’re using a DSLR, you’ll likely be coached toward settings and technique choices that keep buildings crisp while you’re composing a moving scene. If you’re on a smartphone, you’ll still get practical direction—things like how to stabilize your shot, how to manage focus, and how to compose so the bridge looks intentional instead of accidental.
This stop is one of those “small move, big result” moments. A few steps left or right can change how the skyline lines up. So don’t treat this as a photo you take once. Treat it as a practice round.
You can also read our reviews of more historical tours in London
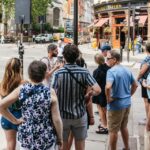
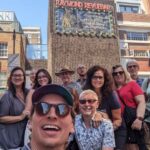
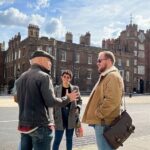
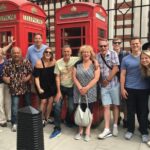
Stop 4: St Paul’s Cathedral corners—where skyline photos become more interesting
Then you head to St Paul’s Cathedral, which is where the tour ends. You’ll be directed to take photos from two less-obvious and picturesque corners of the cathedral area, with views of the city skyline.
St Paul’s is famous, so the challenge is making your photo feel personal. “Classic postcard” shots are everywhere, but the corner strategy is how you sidestep that. By positioning yourself from a specific side and angle, you can frame St Paul’s so it works with skyline lines instead of competing with them.
This is also a good moment to apply what you’ve been learning. By now you’ve already practiced composing around big, recognizable landmarks. Here you can refine: try a wider view that includes skyline depth, then try something tighter where the cathedral becomes the anchor. If you’re new to photography, this is where the e-guidebook promise matters: you’ll have a tool after the walk to keep the learning from fading overnight.
Because the tour ends at this point, you’re more likely to linger at exactly the right spots rather than guessing on your own.
Stop 5 (final photo stop): Tower Bridge from the most photographic angles
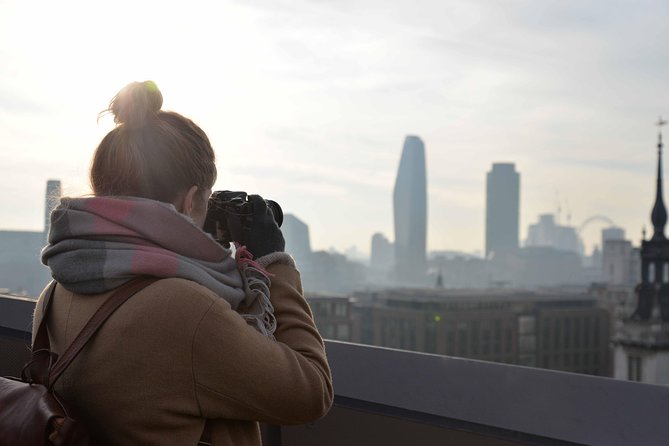
Even though you finish at the St Paul’s area, Tower Bridge is still the big visual payoff in the plan. The schedule includes time for photos of Tower Bridge with guidance on “most photographic angles,” with about 30 minutes allocated for this final landmark segment.
Tower Bridge works because it offers shape, contrast, and a strong sense of place. It’s also a good test of your improvement: if you’ve been practicing how to frame and simplify a scene, Tower Bridge should start looking easier. The guide’s angle guidance is what helps here. Instead of shooting from the first spot you find, you’re guided toward viewpoints that make your composition look deliberate.
If you’re carrying a tripod, you can use the time to slow down and refine framing. If you’re on a phone, use the 30 minutes to experiment with different exposures and compositions rather than taking one quick shot and moving on.
Included extras that help you keep improving after you walk away
This tour includes more than the walk and the landmarks. You get:
- a photography e-guidebook
- tour and group photos
- coffee and/or tea to refuel at the end
That e-guidebook is the part you’ll appreciate later. Real improvement comes from practice and feedback, and a guidebook helps you translate what you learned on the street into future shots. It’s especially useful if your learning style is hands-on; you can take your London results and use the same ideas elsewhere.
And the coffee/tea isn’t a small detail. After a few hours, your attention can drop, and your photos start to drift into autopilot mode. A pause gives you a reset, so you can review what you captured and maybe adjust your approach for your final frames.
Who this tour is best for (and who might want something simpler)
This tour is a strong fit if you want a structured photo session with private attention. If you’re carrying a DSLR, you’ll get coaching that supports more professional camera use. If you’re using a smartphone, you’re not treated like a second-class participant—you’ll get hints and tips designed for your device.
It’s also ideal if you’re the kind of person who gets frustrated by almost-right photos. If you know you can take a decent image but want your pictures to look more planned, this format helps because you get coaching in the exact settings where your pictures fall apart.
If you’re mainly looking for casual sightseeing with a few photos, you may feel like the focus is too photo-driven. At this price point, you’ll get the best experience if photography improvement is part of the goal.
Practical logistics: where to meet and how the tour flows
You meet at Caffè Nero, Unit B, Portcullis House, 1-2 Bridge St, London SW1A 2JH. The instructions also note it’s about a 10-minute walk to London Bridge Underground Station, which is helpful for planning your arrival route.
The tour ends at Tower Bridge Rd, London SE1 2UP. Since the timing is structured by stops, you’ll likely spend time at each landmark rather than roaming freely. Come prepared for short photo sessions and frequent repositioning.
The tour lasts about 3 hours 30 minutes, and moderate physical fitness is recommended. That usually means steady walking plus lots of standing, aiming, and shooting.
Should you book this Iconic London Landmark Photography City Tour?
If you want your London photos to look less random and more intentional, I think this is worth considering. The private format, equipment-tailored coaching, and included e-guidebook are a smart combination if you care about improving your photography quickly.
Book it if:
- you want guidance that fits both DSLR and smartphone cameras
- you’d rather learn angles and settings than just take more pictures
- you like the idea of ending with photos plus a guide you can use later
Skip it (or compare) if:
- you just want general sightseeing without a photo lesson
- you’re unlikely to use manual controls or follow coaching prompts
- you’re trying to keep costs low, since this is premium-priced per person
FAQ
How long is the Iconic London Landmark Photography City Tour?
It runs for about 3 hours 30 minutes.
Is this tour private?
Yes. It’s a private tour/activity, and only your group participates.
What landmarks are included in the tour?
You’ll cover Big Ben, London Eye, Millennium Bridge, St Paul’s Cathedral, and Tower Bridge.
Will the tour work for both smartphones and DSLR cameras?
Yes. The coaching is tailored to your needs and your equipment, whether you’re using a DSLR or a regular smartphone camera.
What’s included in the price?
The tour includes a photography e-guidebook, tour and group photos, and coffee and/or tea.
Where do we meet and where does the tour end?
You meet at Caffè Nero, Unit B, Portcullis House, 1-2 Bridge St, London SW1A 2JH. The tour ends at Tower Bridge Rd, London SE1 2UP.
Is transport included?
No. Transport fares such as subway, bus, or taxi are not included.
Can I cancel for a full refund?
Free cancellation is available up to 24 hours in advance for a full refund. If you cancel less than 24 hours before the start time, the amount paid is not refunded.