REVIEW · LONDON
Ultimate introduction to photography in Central London
Book on Viator →Operated by Photography Workshops by Matthew Williams-Ellis · Bookable on Viator
Better photos start with a better plan. This Central London workshop turns camera basics into real results, from the London Eye to blue hour by the Thames.
I love the small group setup, max 8 people, because Matthew Williams-Ellis can correct your settings without rushing you. I also like the mix of technical practice (ISO, aperture, shutter speed, focusing) and the “how to think” part, so you’re building an eye for composition, not just collecting random shots.
One thing to consider: this is hands-on. If you want a sit-and-watch photo walk, you may feel a bit busy—because you’ll be adjusting settings and experimenting at multiple stops, and it depends on good weather.
In This Review
- Key highlights worth showing up for
- A 5.5-hour photo workshop that teaches you to see
- Small group coaching with Matthew Williams-Ellis (and why it matters)
- Where you start: the London Eye and setting a baseline
- Leake Street Arches (Waterloo’s graffiti tunnels): composition with attitude
- St. Paul’s Cathedral: focus, scale, and light that changes fast
- South Bank skate park: dynamic shots and controlled blur
- Thames at sunset, blue hour, or night: long-exposure moments that feel rewarding
- What you’ll learn beyond settings: the photographic mindset
- Price and value: what $232.25 gets you in Central London
- Who should book this workshop (and who might not enjoy it)
- Practical details that help your day go smoother
- Should you book this Central London photography workshop?
- FAQ
- What’s the duration of the Central London photography workshop?
- How many people are in the group?
- Is the workshop taught in English?
- Where do I meet, and where does the tour end?
- What language and ticket format should I expect?
- Do I need to be in good physical shape?
- Does the workshop depend on weather?
- What’s the cancellation policy?
Key highlights worth showing up for
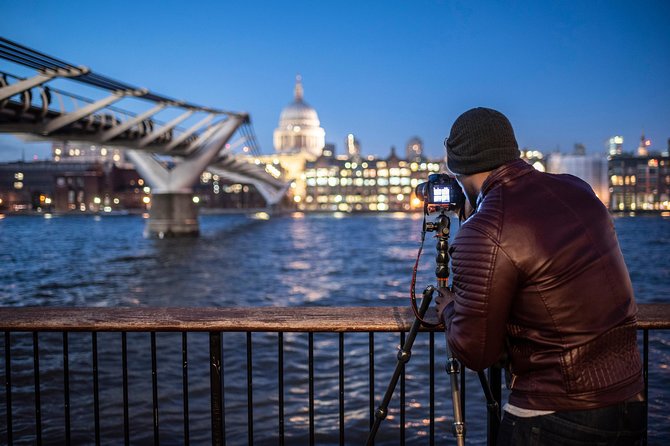
- Max 8 travelers so you get feedback on your camera setup, not generic tips
- ISO, aperture, and shutter speed taught in the field using London landmarks you can actually shoot
- Practice with action at the South Bank skate park, then slow-shutter experiments as light drops
- Story + composition thinking, built into every location so your photos look intentional
- Sunset, blue hour, or night shoot by the Thames for photos at multiple lighting styles
- A patient, encouraging teaching style that helps both brand-new users and people who feel stuck on auto mode
A 5.5-hour photo workshop that teaches you to see
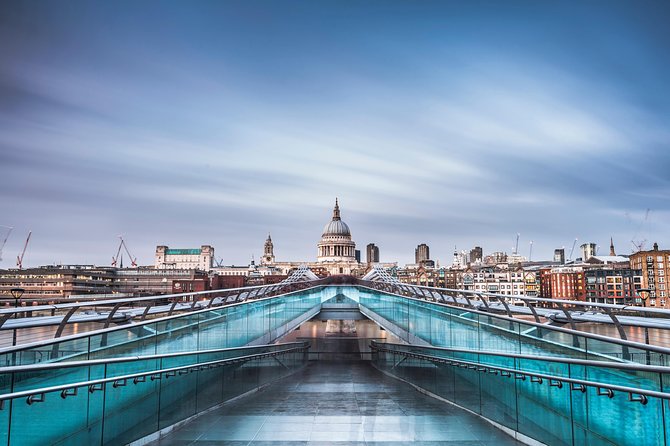
In London, it’s easy to aim your camera at something famous and hope for the best. This experience is different. It trains you to make choices—then test those choices immediately.
You’ll cover the core exposure tools: ISO, shutter speed, aperture, plus focusing and how shooting modes fit in. But the real win is that Matthew pushes beyond button-pressing. You work on the thought process of creating photos, so you’re not just photographing a spot—you’re building images.
The total time is about 5 hours 30 minutes, moving at a pace that fits a moderate fitness level. It’s also in English, and you’ll get a mobile ticket.
You can also read our reviews of more photography tours in London
Small group coaching with Matthew Williams-Ellis (and why it matters)
When the group is capped at 8, you don’t disappear into the background. That matters with photography, because one wrong setting can make your photos look off even when your composition is good.
Matthew Williams-Ellis runs the session with a calm, gentle style that works for people who are brand new and those who’ve been stuck in auto mode for years. In previous groups, you’ll see the same theme: people leave understanding their camera better, not just collecting a few nice frames.
I like that the teaching isn’t one-size-fits-all. You’ll be encouraged to try settings, get feedback, and adjust. That quick loop—try, look, fix—is where real learning happens.
Where you start: the London Eye and setting a baseline
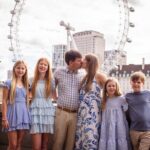
Your morning (or early afternoon) begins at Starbucks Coffee, Belvedere Rd, London SE1 7GQ, and you return there at the end. The first stop is the London Eye, which is a strong starting point because it gives you lots of visual structure quickly: big shapes, lines, and bright highlights.
This is a good location for learning exposure basics because you can see how changes affect your results fast. You’ll work on understanding how aperture influences depth of field, how shutter speed affects blur, and how ISO helps when light changes.
If you’re brand new, this first stretch helps you get your bearings fast. If you already shoot, it helps you stop guessing and start controlling outcomes.
Possible drawback: you’ll want to pay attention early. If you spend the London Eye stop only sightseeing, you’ll lose momentum for the later parts of the day when the light becomes more challenging.
Leake Street Arches (Waterloo’s graffiti tunnels): composition with attitude
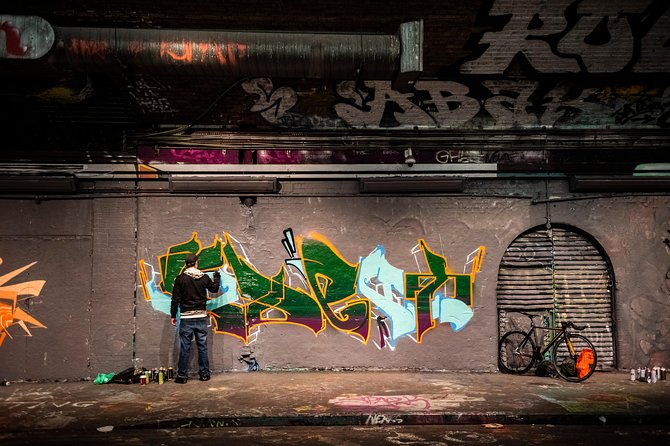
Next up is Leake Street Arches, the world-famous graffiti tunnels near Waterloo. This stop is a favorite because it’s visually busy in a way that forces you to make choices. You can’t photograph everything at once, and that’s the point.
This location is great for building compositional habits. You’ll practice framing decisions—where you put the subject, what you cut out, and how you use the tunnel’s repeating lines to guide the eye. It’s also useful for learning how exposure behaves in darker scenes with bright paint and signage.
In a workshop like this, the big value is that you’re not just learning settings in theory. You’re experimenting with them while surrounded by texture and color. That makes the lesson stick.
One more practical upside: it’s an area with lots of angles, so even if the crowd is heavy, you can usually find a workable viewpoint and keep practicing rather than waiting for a perfect moment.
St. Paul’s Cathedral: focus, scale, and light that changes fast
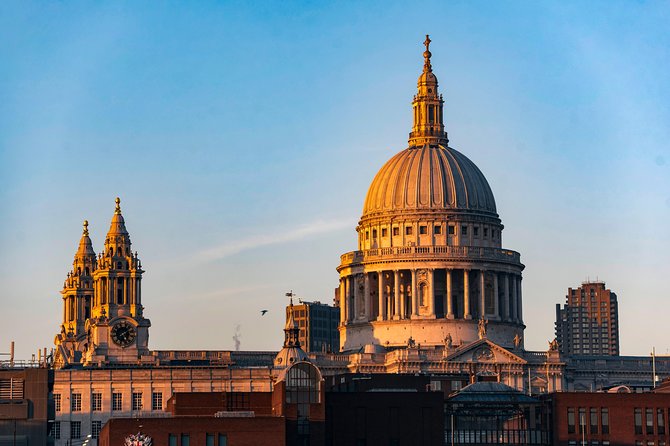
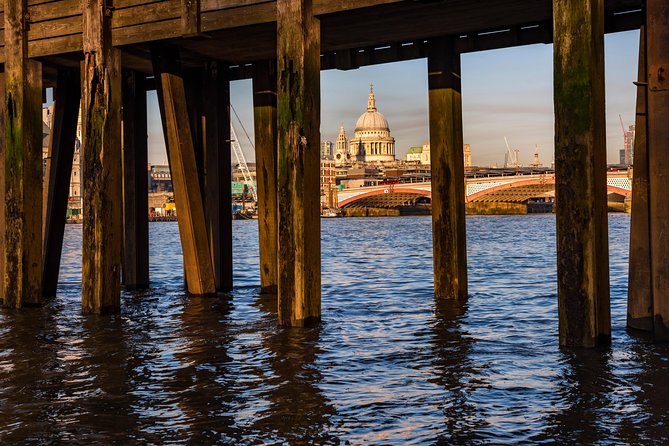
Then you move to St. Paul’s Cathedral, a stop that’s both impressive and demanding. It’s a classic “scale problem”: the scene is huge, but your camera still needs a clear focus plan and a sensible exposure.
This is where I’d expect the instructor to help you think about focusing and framing together. With a subject like St. Paul’s, the edges matter, highlights matter, and you want your shot to feel sharp where it should be sharp.
You’ll also keep refining the exposure triangle as the day progresses. Even without changing locations, the brightness can shift—clouds, reflections, and time-of-day all affect your settings. If you understand ISO, aperture, and shutter speed as a system, you’ll handle those changes without panicking.



South Bank skate park: dynamic shots and controlled blur
After the cathedral, you shift gears to the South Bank skate park. The highlight here is action. This stop gives you a real training ground for shutter speed, because motion shows you your settings instantly.
You’ll learn how to capture dynamic shots—think sharp moments when you want the rider’s movement to feel crisp. Then, as the light falls, you’ll experiment with slower shutter speeds to create a different mood, where motion becomes part of the story.
This is the kind of practice that’s hard to replicate alone. You can read about shutter speed all day, but you only truly get it when you see the blur vs. freeze difference in real time, with real subjects in front of you.
If you’re worried about getting ready for action photography, don’t. The workshop is built for experimentation. You’ll have guidance, and you can adjust your approach based on what you’re comfortable trying.
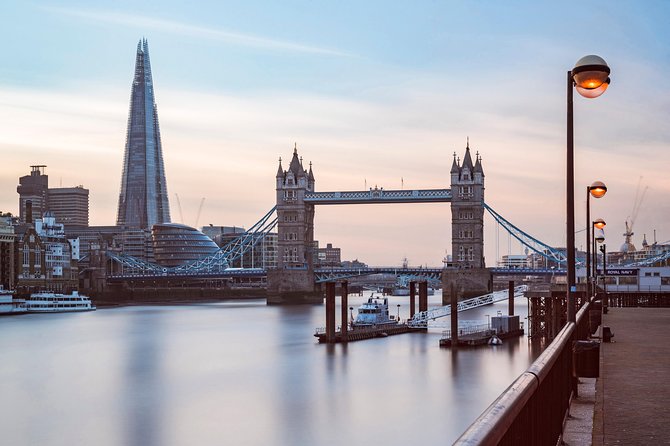
Thames at sunset, blue hour, or night: long-exposure moments that feel rewarding
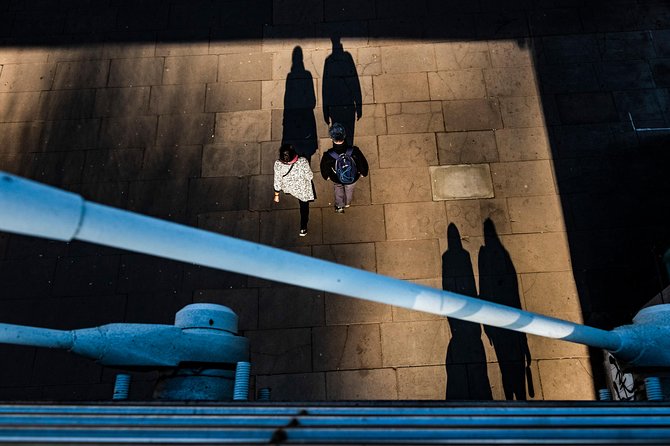
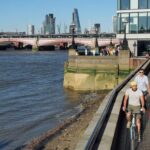
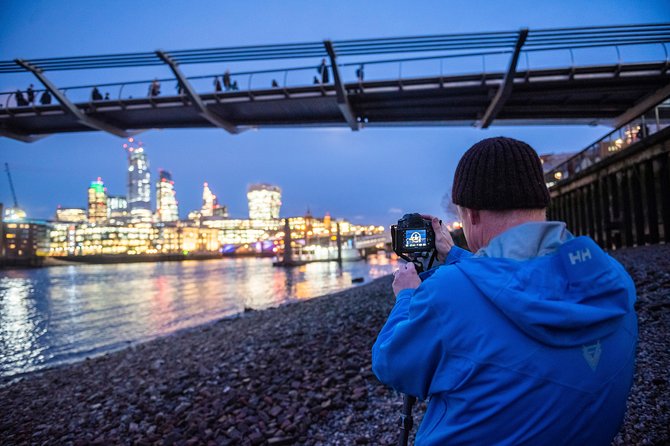
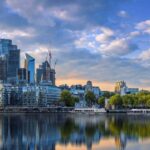
The day wraps with a riverside shoot over-looking the Thames, using the best light you can get: sunset, blue hour, or night. This part is where your earlier learning pays off.
Once the scene gets darker, ISO and shutter speed take over. You’ll start to see why the exposure triangle isn’t just “settings”—it’s a tool for mood. Faster shutters can keep highlights clean and subjects sharp. Slower shutters can smooth water and blend light into something more cinematic.
Blue hour is especially forgiving in a classroom sense, because the colors last long enough for you to experiment. Night shooting adds another layer: strong contrast, more visible noise, and the need to balance brightness across the frame.
The practical goal is that you return with a variety of images you can actually be proud of. Not just a few good ones—different looks from one training day.
What you’ll learn beyond settings: the photographic mindset
The workshop spends time on the thought process of creating photos, not just taking them. I really like this because it changes how you shoot after the tour.
Instead of chasing random shots, you’ll be nudged to ask questions like:
- What am I trying to show?
- Where should the viewer look first?
- How do my camera settings support the look I want?
That mindset is useful far beyond London. The camera skills transfer, but the eye changes faster when you train with an instructor who keeps pointing you back to intention.
In past sessions, people walked away with practical notes—tips and settings they wanted to try later on future trips. One example from a participant: they left with guidance they planned to use for an upcoming trip to see the northern lights. That’s a sign the teaching goes beyond the day’s landmarks.
Price and value: what $232.25 gets you in Central London
At $232.25 per person for about 5.5 hours, this isn’t a bargain like a free walking tour. It also isn’t priced like a private lesson with zero group dynamics.
Where you get value is in the structure:
- A pro instructor (Matthew Williams-Ellis)
- Small group limits (max 8)
- Real practice across multiple lighting situations
- Dedicated help with the core mechanics: ISO, aperture, shutter speed, focusing
- A final shoot window when photos often become the hardest part
A quick way to think about it: you’re paying for time with someone who can correct your settings while you’re actively shooting. If you’ve ever tried to learn from videos and then get stuck when the light changes, you’ll understand why that kind of feedback is worth something.
Who should book this workshop (and who might not enjoy it)
This course is a strong fit if you:
- Are brand new or near-brand new and want out of auto mode
- Feel confused about ISO, aperture, and shutter speed
- Want to practice in real London locations instead of theoretical learning
- Enjoy structured coaching and short bursts of experimentation
It might feel less perfect if you:
- Prefer passive sightseeing only
- Don’t want to adjust settings and try again
- Struggle with standing and walking through multiple stops (the physical level is listed as moderate)
If you’re traveling with a friend or family member, this also works well because the group is small enough that the instructor can support different skill levels.
Practical details that help your day go smoother
You’ll start at Starbucks Coffee, Belvedere Rd, London SE1 7GQ. The workshop ends back at the same meeting point. That’s nice because it reduces decision-making at the end of a long photo session.
The session is near public transportation, so it’s easier to connect from other London plans. And service animals are allowed.
Weather matters. This experience requires good weather, and if it gets canceled because of poor conditions, you’ll be offered a different date or a full refund.
For gear, the workshop focuses on how your camera works—though in earlier groups, the instructor has helped people learn phone photography more effectively too. So if you’re using a phone, you’ll still likely benefit from the exposure and composition thinking, as long as you can actually apply what you learn while shooting.
Should you book this Central London photography workshop?
Yes, if you want your photos to improve in one afternoon and you’re open to hands-on practice. This is the kind of workshop that turns blurry theories into clear cause-and-effect: you change a setting, you see the result, you learn why.
Book it especially if:
- You want patient coaching with a small group cap
- You want help understanding the camera basics that stop most people
- You’re excited to shoot real scenes—arches, St. Paul’s, a skate park, and the Thames at night
Skip it only if you’re looking for a relaxed sightseeing day. This is learning with a purpose, and that purpose is what makes it worth your time.
FAQ
What’s the duration of the Central London photography workshop?
It runs for about 5 hours 30 minutes.
How many people are in the group?
The workshop has a maximum of 8 travelers.
Is the workshop taught in English?
Yes, it’s offered in English.
Where do I meet, and where does the tour end?
You meet at Starbucks Coffee, Belvedere Rd, London SE1 7GQ, UK, and the activity ends back at the meeting point.
What language and ticket format should I expect?
You’ll receive a mobile ticket, and the workshop is conducted in English.
Do I need to be in good physical shape?
It’s listed as requiring moderate physical fitness, so you should be comfortable walking between stops and standing while shooting.
Does the workshop depend on weather?
Yes. It requires good weather. If it’s canceled due to poor weather, you’ll be offered a different date or a full refund.
What’s the cancellation policy?
You can cancel for a full refund up to 24 hours in advance of the start time. If you cancel less than 24 hours before, the amount paid isn’t refunded.